
Issue:
I need to create an Autodesk Custom Install for Named Users, and have the software installed from a network deployment.
Solution:
- Log into the manage.autodesk.com account with either the Primary Admin or Secondary Admin rights.
- Click "Products and Services" at the top bar.

3. Choose "Custom Install" under "Products and Services" 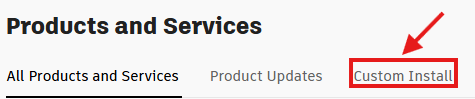
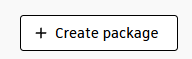
4. Click on the "+ Create package" button towards the top right of the page.
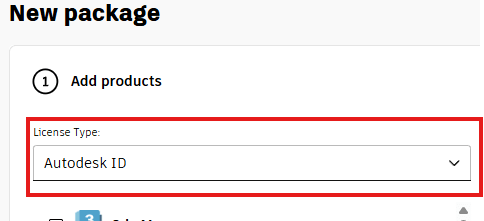
5. Make sure "License Type" is Autodesk ID
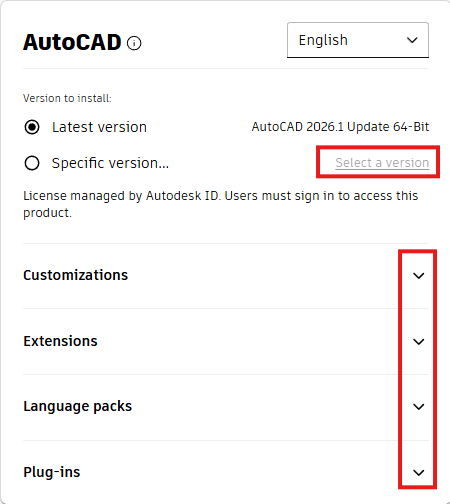
6. Check the box of the Autodesk product you want to make a deployment for (I am choosing Autodesk Autocad 2026 as an example).
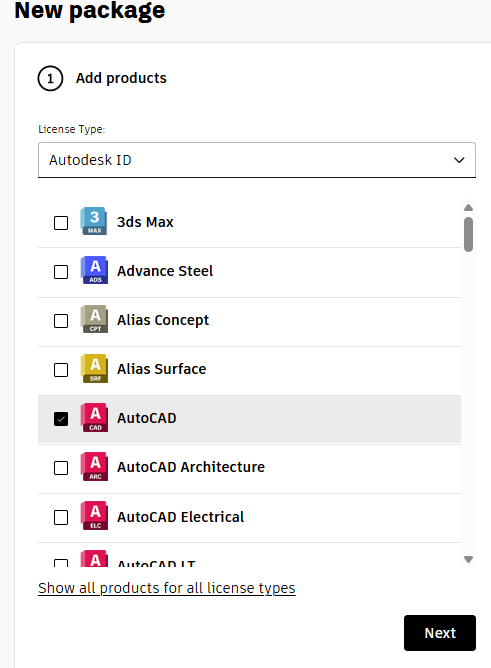
7. When you check the box of the Autodesk product you would like to make a deployment for, another section will open to the right. You can click to specify which version you will need. You can also choose what updates are added to the deployment.
8. In this section, you can pick Customizations, Extensions, Language packs, and Plug-ins that need to be included in your deployment.
9. Click Next after choosing your options.
10. On the "Install settings" screen, we will choose a "Package name" and a "Package description".
11. Next, select the "Deploy" Button. 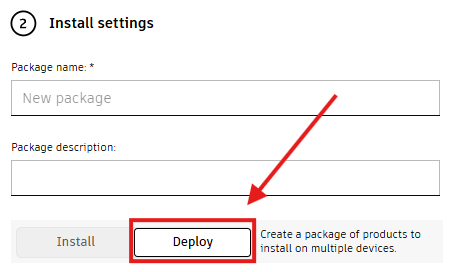
NOTE: Check this blog to see the difference between the "Install" and "Deploy" buttons:
https://resources.imaginit.com/inventor/what-is-the-difference-between-a-custom-install-and-a-deployment
12. Next, we will need to choose a location for the "Deployment image path:". This location can use a UNC path to a shared network drive, or you can choose a local folder such as C:\autodesk\ if you are using software to deploy the product, such as Intune or PDQ connect, just to name a few.
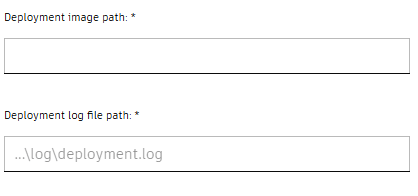
13. Leave the .log location as is, unless you would like the log files to be in a different location.
14. Leave checked or uncheck the "Install Autodesk Access" to whatever your company policy is with Autodesk Access.
15. The "Use symbolic links" portion is when you bundle together more than one product. The symbolic links only download the same file once, and then if it is needed during the install, a link will point to the location inside the deployment.
NOTE: Bundling more products together will make the deployment size very large, and if there is a failure during the install, it is hard to find the product or file causing the failure.
16. Click either the save or download button. The download button will do both. It will save a download the file that will create the deployment.
17. Run the downloaded file to start the creation of the deployment.
About the Author
Follow on Linkedin More Content by Ken Williams


