
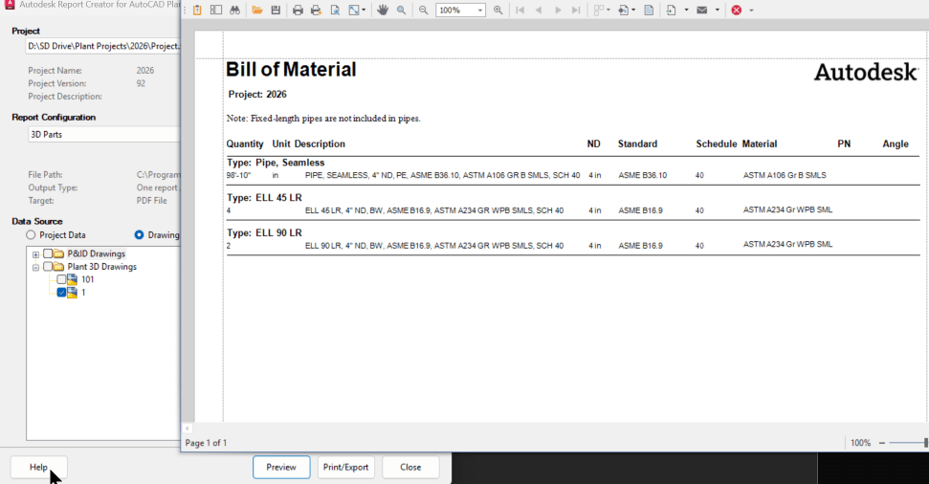
Issue:
When using Report Creator to preview pipe runs with the 3D Parts template, the report groups all pipes and fittings together under each Short Description category. For example, all 4" items appear under the same short description group. However, one pipe run uses CS300 while another uses CS600, and you need the report to list each size separately for each spec used in the pipe run.

Solution:
1. Open Report Creator
Begin editing the out of box “3D Parts” report template.
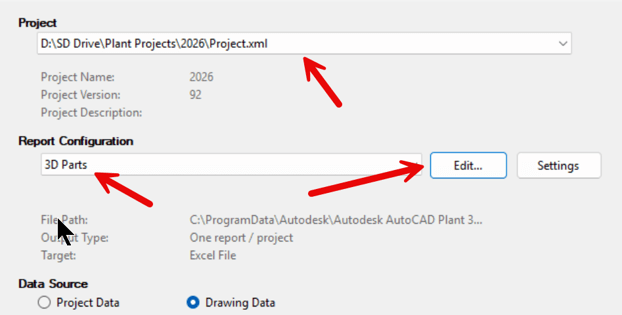
• Launch Report Creator for AutoCAD Plant 3D
• Under Project, select the project you want the report to run on
2. Select the 3D Parts Template
Choose the report layout you want to modify.
• Under Report Configuration, select the 3D Parts template
• Click Edit
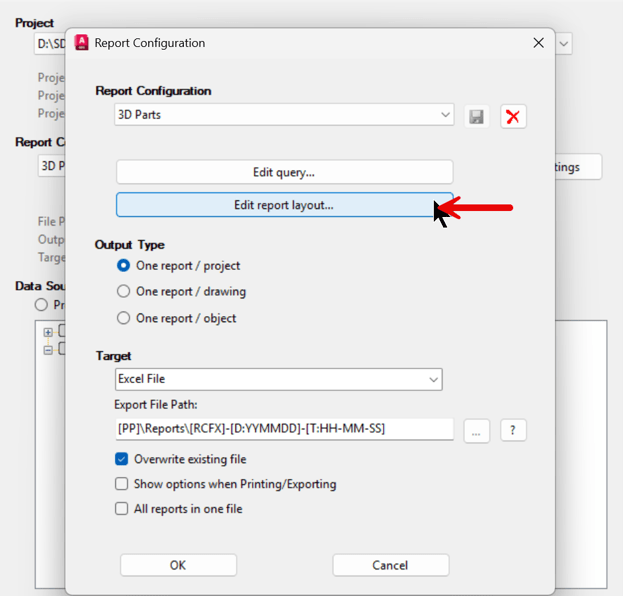
3. Open the Report Layout Editor
Access the detailed layout controls.
• Click Edit Report Layout to open the Report Designer
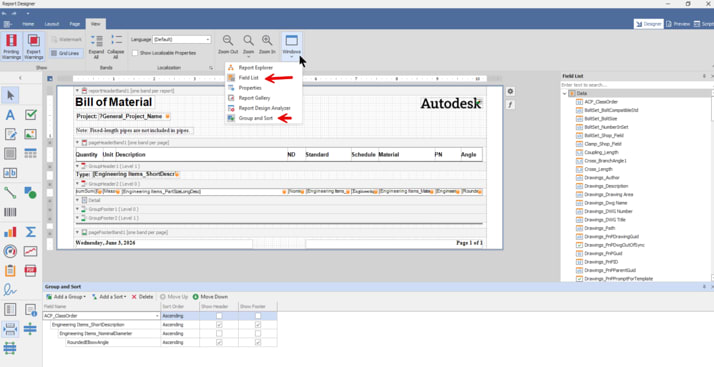
4. Enable Required Panels
Ensure all necessary tool windows are visible.
• In the Report Designer, open the View tab
• From the Windows dropdown, enable Field List and Group and Sort panels
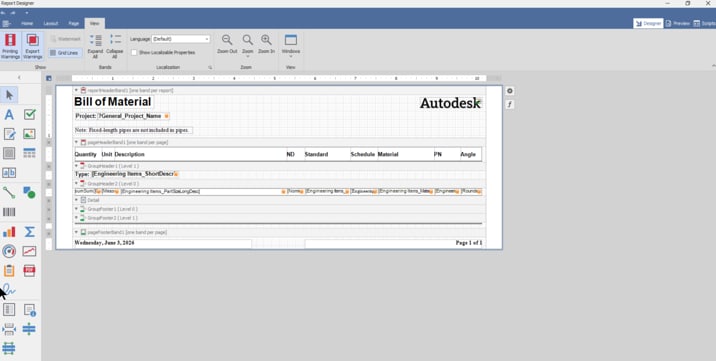
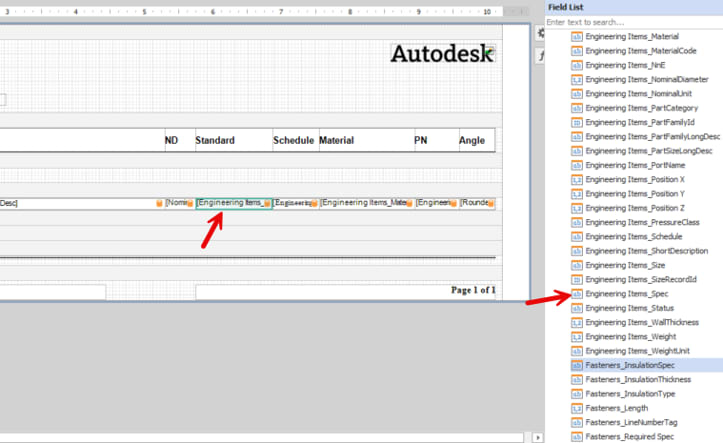
5. Replace Standard with Spec
Update the field used to display piping specifications.
• In Field List, search for Engineering Items_Spec
• Drag it onto the layout, placing it where Standard currently appears
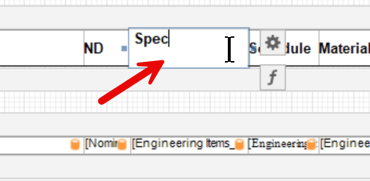
• Change the column header from Standard to Spec
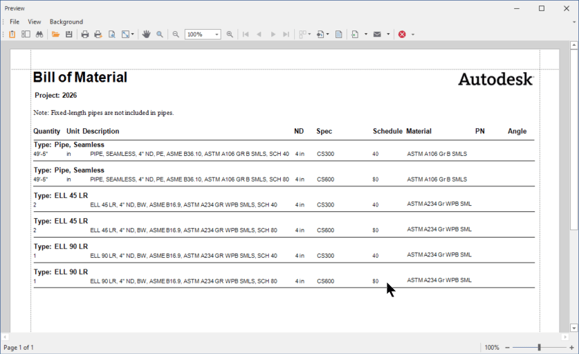
6. Preview and Verify Spec Output
Check how the report groups and displays specifications.
• Click Preview (upper right corner)
• You may see only CS300 listed even though quantities include CS300 and CS600
• Click Designer to return to the editor
7. Adjust Grouping Behavior
Correct the grouping so parts appear under the correct spec.
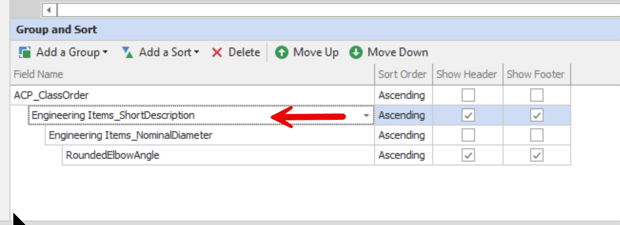
• In Group and Sort, change the field from Engineering Items_ShortDescription to Engineering Items_PartFamilyLongDesc
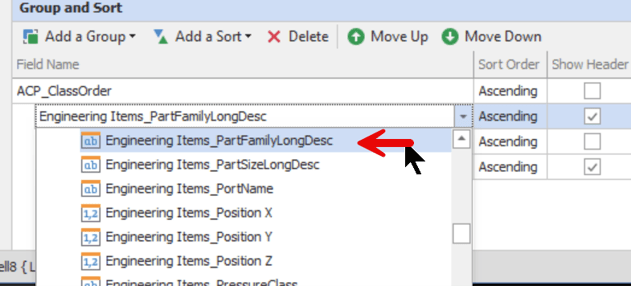
• Preview again to confirm parts are now grouped by their correct spec
8. Save and Close
Finalize your changes to the report template.
• Save and close the report layout
• Click OK to close the Report Configuration dialog
About the Author
Follow on Linkedin More Content by Paul Sills


