

Issue:
There are multiple components for setting up the Forma Content Catalog, which can be confusing for Forma Admins.
Causes:
The Content Catalog setup involves two different processes:
1. Collection Setting: Managed directly within the Admin Hub.
2. Uploading Content: Managed using the Content Catalog app.
This two-step process differs from typical Forma product settings, as uploading and managing content requires the Content Catalog add-in, which must be installed separately.
Solution:
This article covers setting up the Forma Content Catalog from beginning to end.
Required tool:
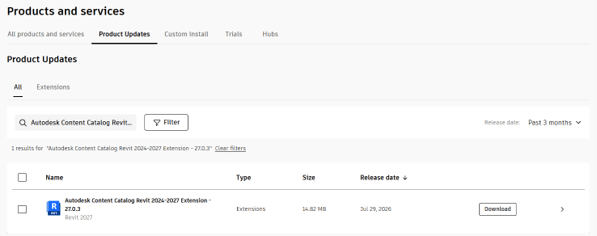
Download the Autodesk Content Catalog Extension from your Autodesk account page.
Setting Up the Forma Content Catalog
1. Install the Extension: Install the Autodesk Content Catalog Extension.
2. Log In: Log in to Forma.
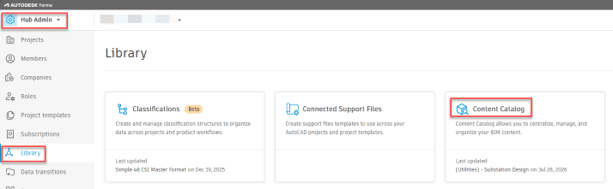
3. Navigate to Content Catalog: Go to Hub Admin > Library > Content Catalog.
4. Access User Groups: User groups must be configured prior to setting up collections. Navigate to User Groups.
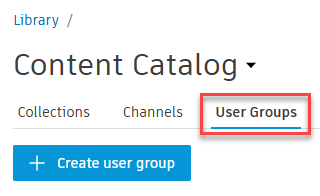
5. Create User Groups: A user group is a set of users who will have access to specific collections. By setting up user groups, admins can manage which users have access to each content catalog collection. Click Create User Group to begin.
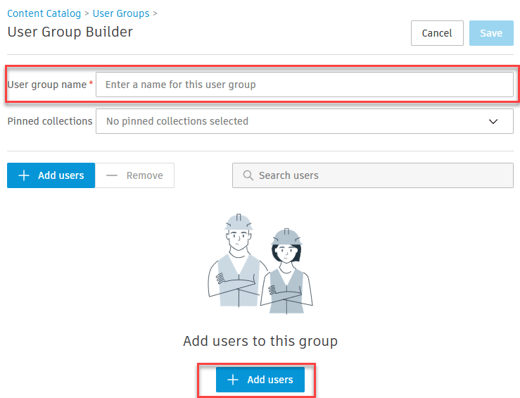
6. Assign Users: Enter a user group name and add the individual users who should belong to that group.
7. Navigate to Collections: Once all necessary user groups are created, navigate to Collections.
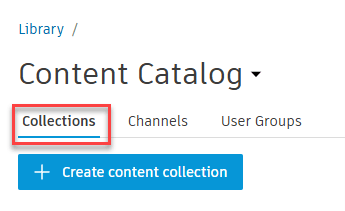
8. Create Content Collections: Collections are where Revit content is stored. Admins can create different collections for different user groups based on office BIM policy. Click Create Content Collection.
9. Configure the Collection: Fill out the required information and select the appropriate user groups.
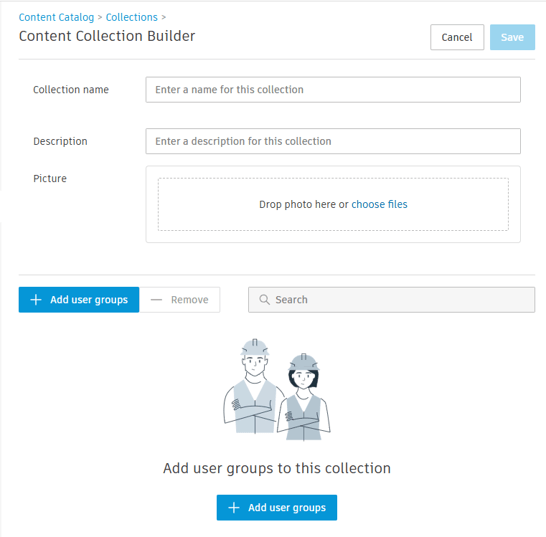
10. Set Permissions: Always add an Admin user group in addition to any specific user groups that require access. Admins must configure user group permissions whenever a group is added.
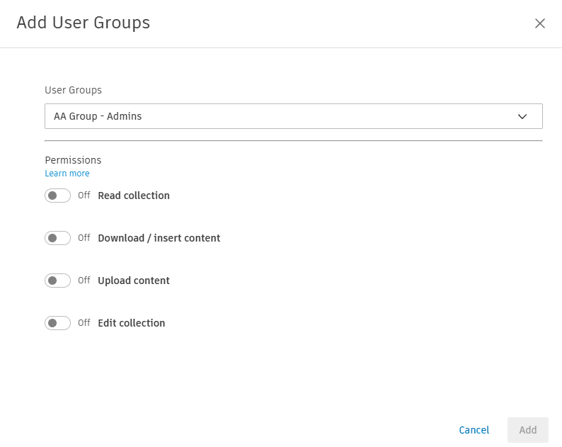
11. Prepare to Upload: Once a collection is created, admins can begin adding content to collections via the Content Catalog add-in.
12. Launch Content Catalog: Open Revit and launch the Content Catalog (available as either the desktop app or browser version).
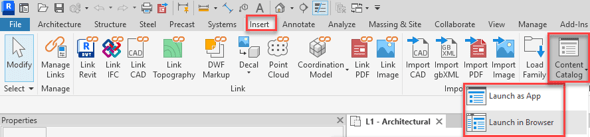
13. Select Collection: The newly created collection should be visible in the Content Catalog. If it does not appear, click Collection and enable it from the list.
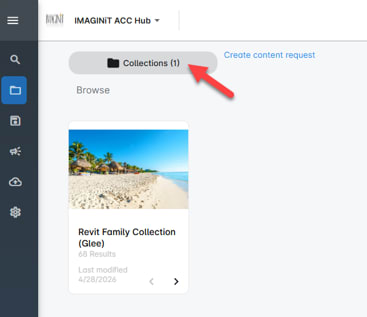
14. Admin can upload content from upload content menu.
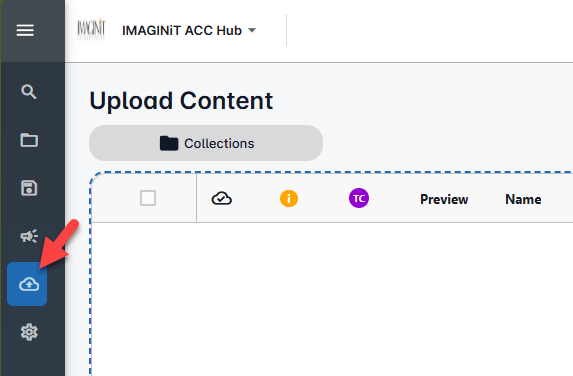
15. Choose Upload Method: Content can be uploaded in two ways:
-
- Dragging individual families from a local drive.
- Uploading entire families from an active project file.
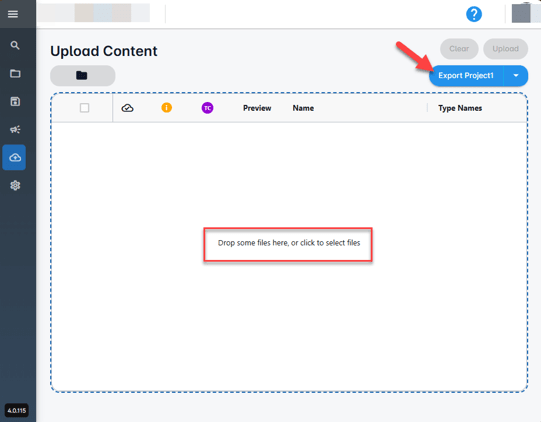
16. Supported File Types: The Content Catalog can store schedules, views, loadable families, and system families directly from project files.
17. Template Optimization: If you use a project template file, you can export its contents to the Content Catalog. This allows you to keep your project template files lightweight, as all details and families remain accessible through the catalog.
About the Author
Follow on Linkedin More Content by Gregory Lee


