
Issue:
You would like to assign Autodesk product seats to a group of users at manage.autodesk.com
Solution:
The Autodesk portal now allows you to have user management by group. You can assign software to a group of users instead of assigning products to each user on a one-by-one basis. You can add or remove users to a group and assign software within a team.
Info from Autodesk on Groups: All primary and secondary admins can benefit from the ability to organize users within their team into groups. Admins can organize users with similar roles into groups (like architects or designers) to easily assign the same products and permissions to all users in that group. Groups are not shared between different teams. If you have a group with the same name in different teams, the groups are managed separately.
- Log in to manage.autodesk.com
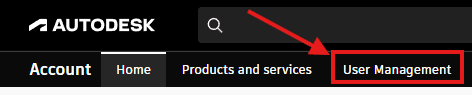
- In the top menu click “User Management”
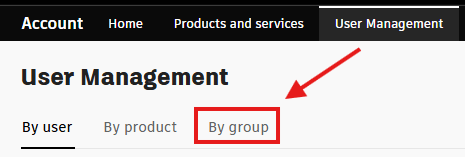
3. On the next screen, under User Management, click “By Group.”
4. Once you click “By Group” you can create a group by clicking the “Create Group” button in the top right.
![]()
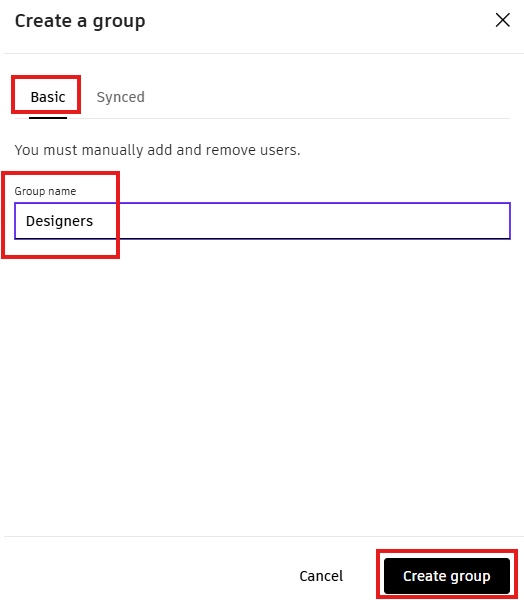
5. Under “Local” (The Synced portion is for Autodesk single sign-on SSO customers), type a name for your new group. For example, I typed Designers for this blog. Click the "Create group" button at the bottom.
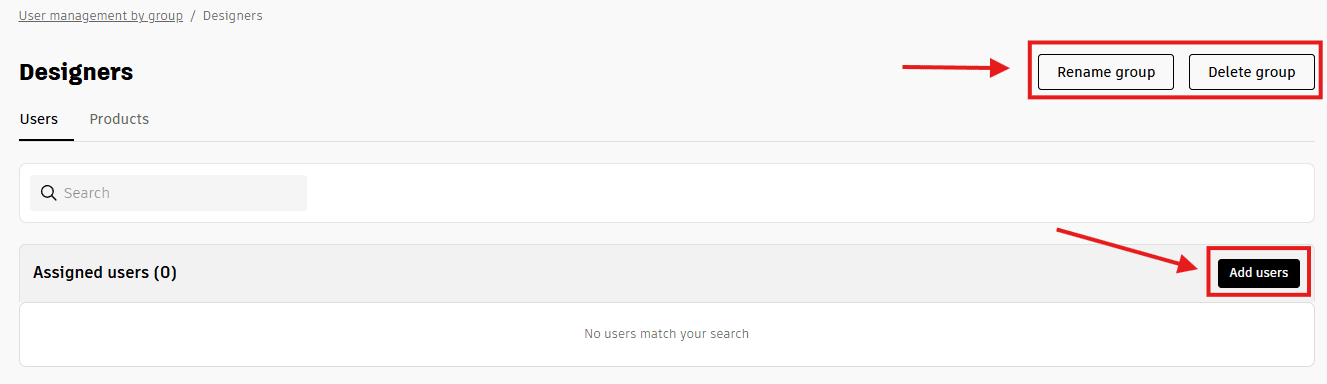
6. You will now see the new group you just created. Click the "Add users" button to add users to the group. You can also rename the group or delete the group.
7. You have 2 options when adding users. You can select from existing users by clicking the “Add” button or choose the “Import” button to upload a CSV file. We will be using the existing user option for this blog.
8. You can either type the user’s name in the search bar or scroll through and put checks in the boxes next to the names of all the users you want in this group.
9. Choose your users and click the “Done” button.
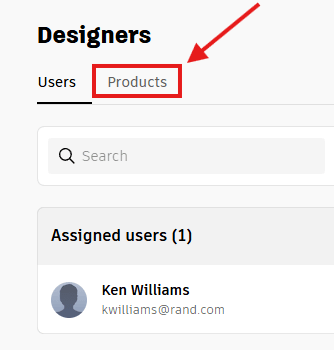
10. To assign products to the group, click the Products tab.
11. To assign products you can scroll through the Unassigned products and click on the “Assign” button or you search products with the search option and then click the “Assign” button.
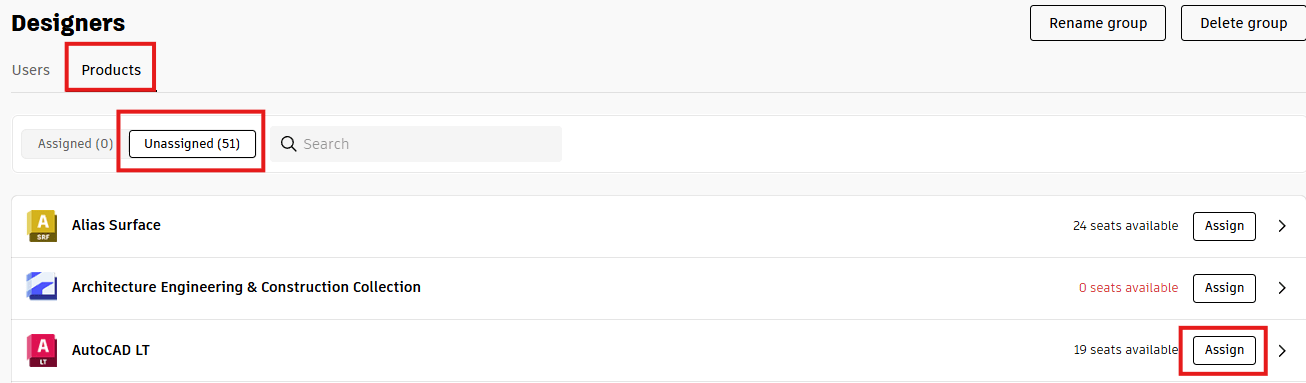
12. You can also unassign products here by clicking the “Unassign” button.

About the Author
Follow on Linkedin More Content by Ken Williams


