
Welcome back to my continuing series on IMAGINiT’s Utilities for Revit. In this blog, we will be diving into part two of our CAD utilities, focusing on the powerful ‘Rooms from CAD’ utility. This tool is designed to streamline the process of creating Revit rooms from a linked CAD file's polylines, making it an invaluable asset for architects and designers who work across both CAD and Revit platforms.
Overview of ‘Rooms from CAD’ Utility
The ‘Rooms from CAD’ utility is an incredibly versatile feature within IMAGINiT’s suite of tools for Revit. It enables users to efficiently translate CAD-based room layouts into Revit, significantly reducing the time and effort required for such tasks. Here are some of the key functionalities and benefits of this utility:
- Create Revit Rooms from Polylines:
- The utility allows users to select polylines within a linked CAD file and convert them directly into Revit rooms. This is particularly useful when working with architectural plans initially drafted in CAD software.
- Room Separation Lines or Walls:
- Users have the option to create rooms using either room separation lines or walls. Room separation lines are useful for defining spaces without adding physical walls, ideal for open-plan areas. Conversely, creating actual walls provides a more tangible division of spaces within the Revit model.
- Automated Wall Creation:
- Beyond just creating room separation lines, the utility can also generate walls along the bounding polylines of the CAD file. This feature is excellent for quickly establishing the structural elements of your Revit project based on existing CAD drawings.
How to Use the ‘Rooms from CAD’ Utility
Let’s walk through the process of using this utility step by step:
- Link the CAD File:
- Begin by linking the CAD file containing the room layouts into your Revit project. Ensure that the CAD file is correctly aligned with your Revit model to maintain accuracy.

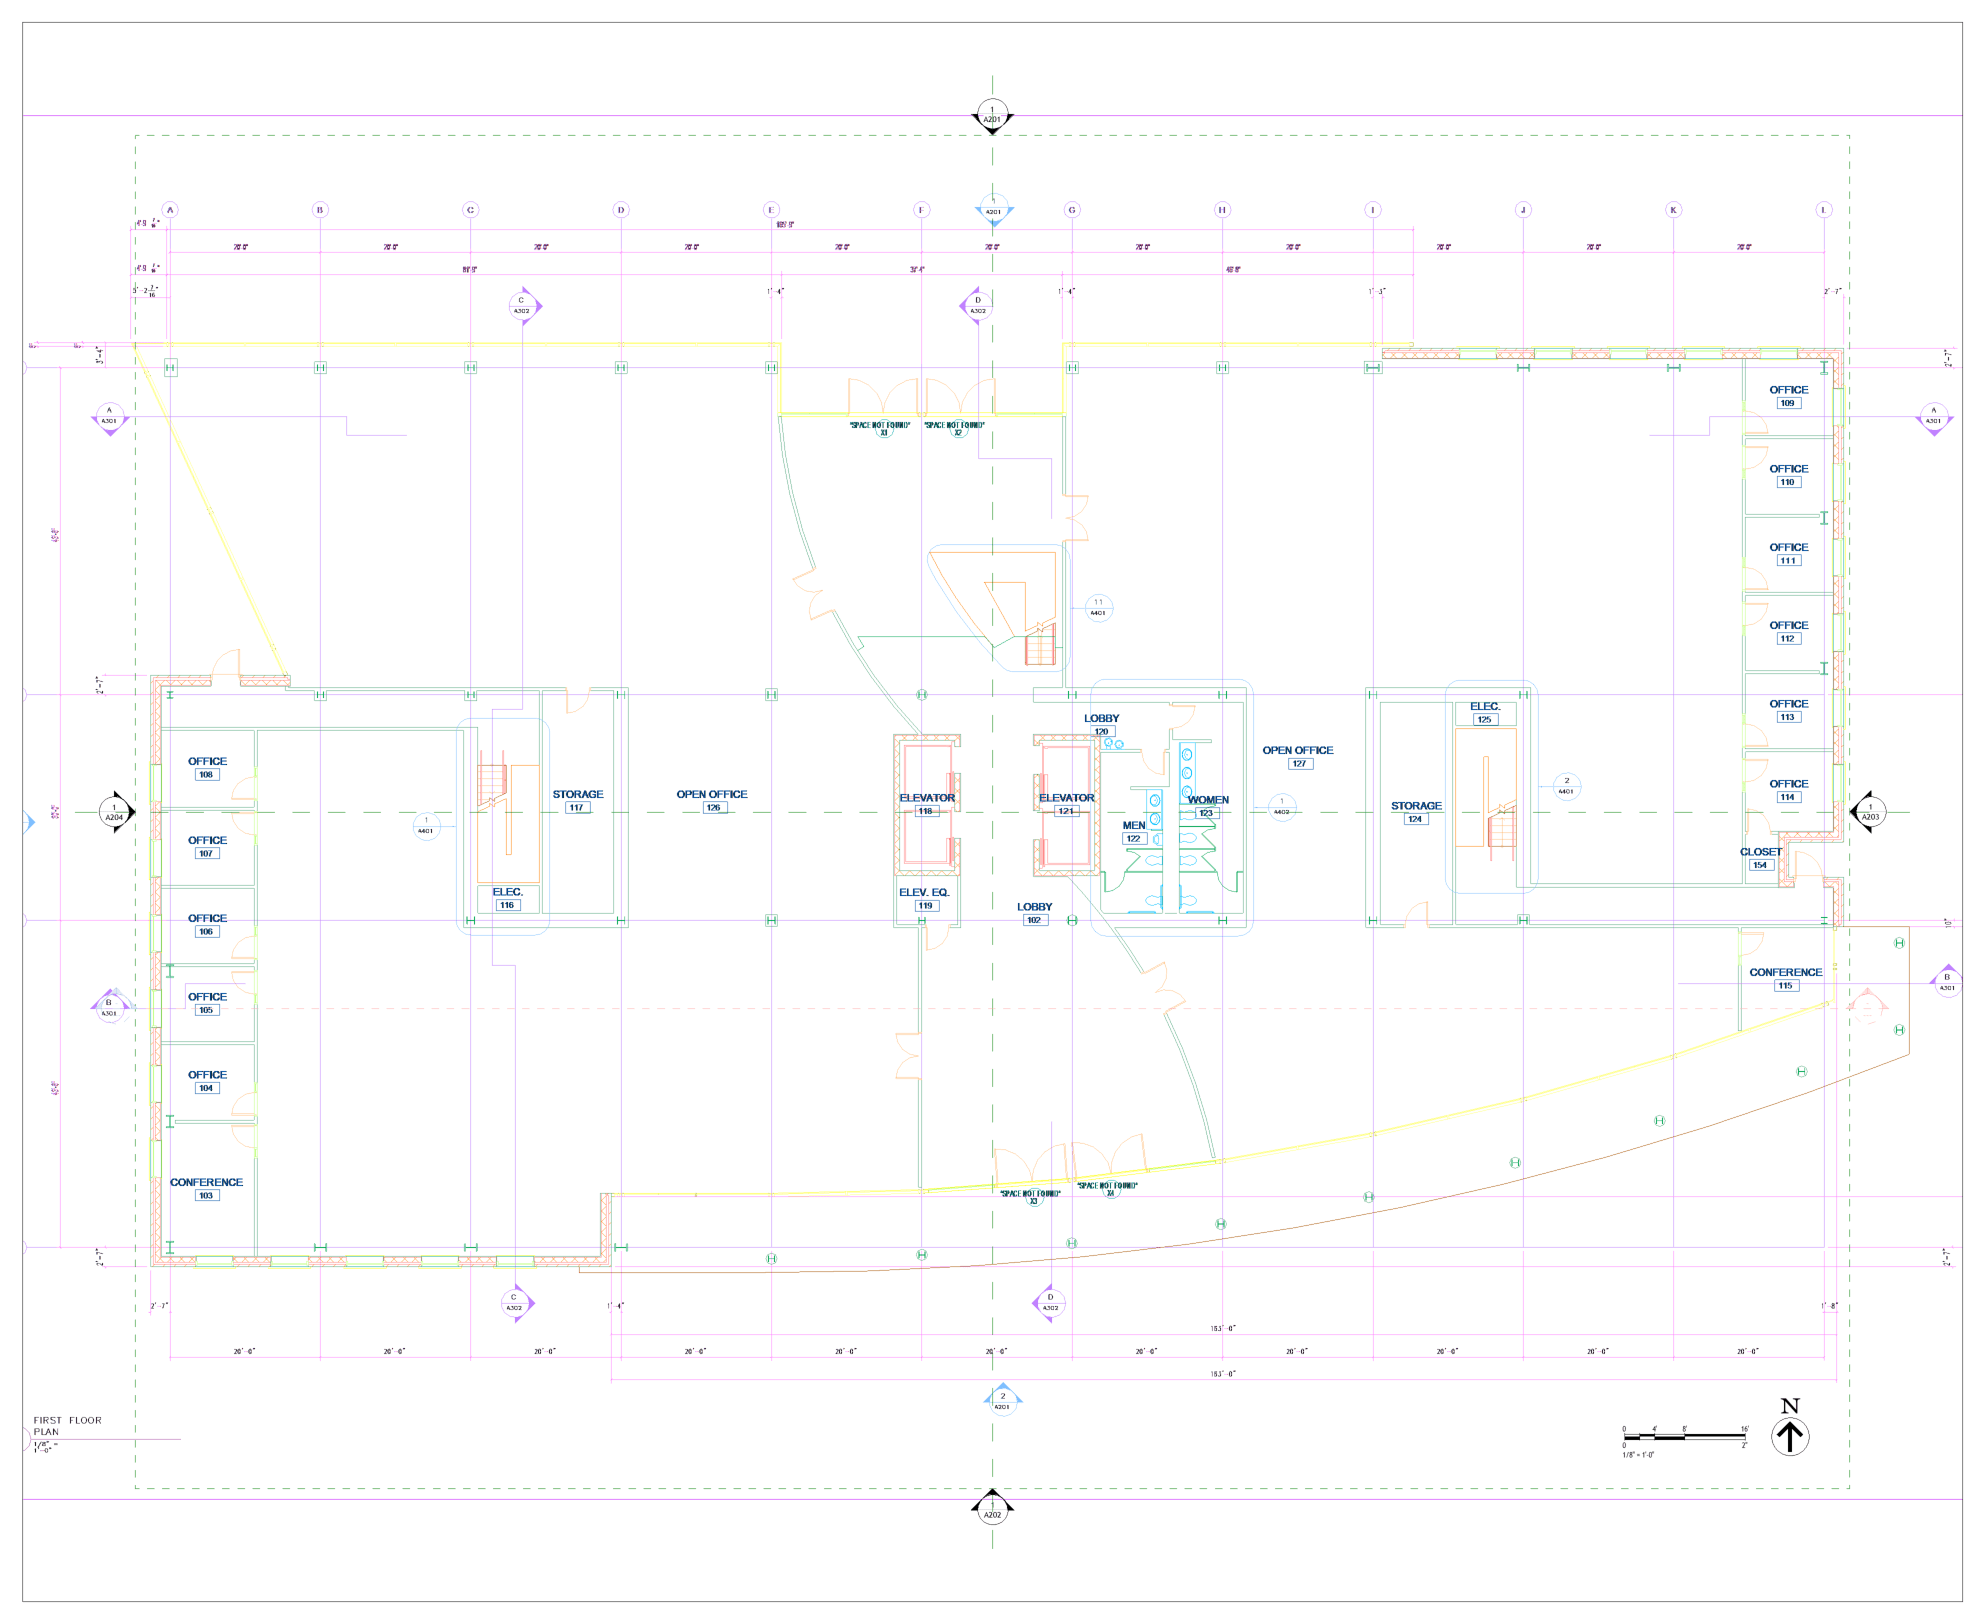
Link in your CAD file (.dwg).
- Select the ‘Rooms from CAD’ utility:
- Use the ‘Rooms from CAD’ utility to select the polylines that define the rooms in the linked CAD file. The utility will recognize these polylines and prepare them for conversion.

From the ‘CAD’ dropdown menu, select the ‘Rooms for CAD’ utility.
- Choose Creation Method:
- Decide whether you want to create rooms using room separation lines or walls. This choice depends on your project needs – whether you are focusing on space planning or structural detailing.
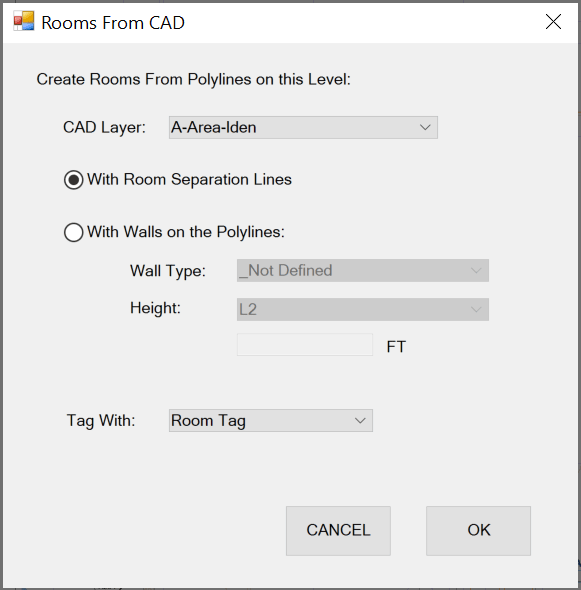
From the ‘Rooms From CAD’ setup dialog, select your CAD layer and your tag and placement options.
- Generate Rooms:
- Execute the command to generate the rooms. The utility will automatically create the rooms within your Revit model based on the selected polylines.
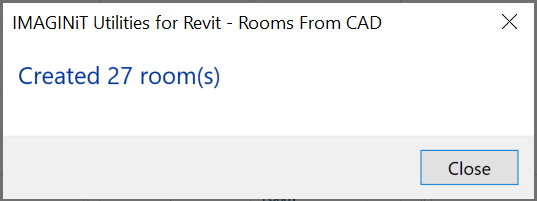
After clicking ‘OK’ in the previous menu, the utility will create the desired rooms.
- Review and Adjust:
- After the rooms are created, review them within Revit. Make any necessary adjustments to ensure they meet your project requirements. This may include modifying room boundaries, adjusting wall placements, or adding additional architectural elements.
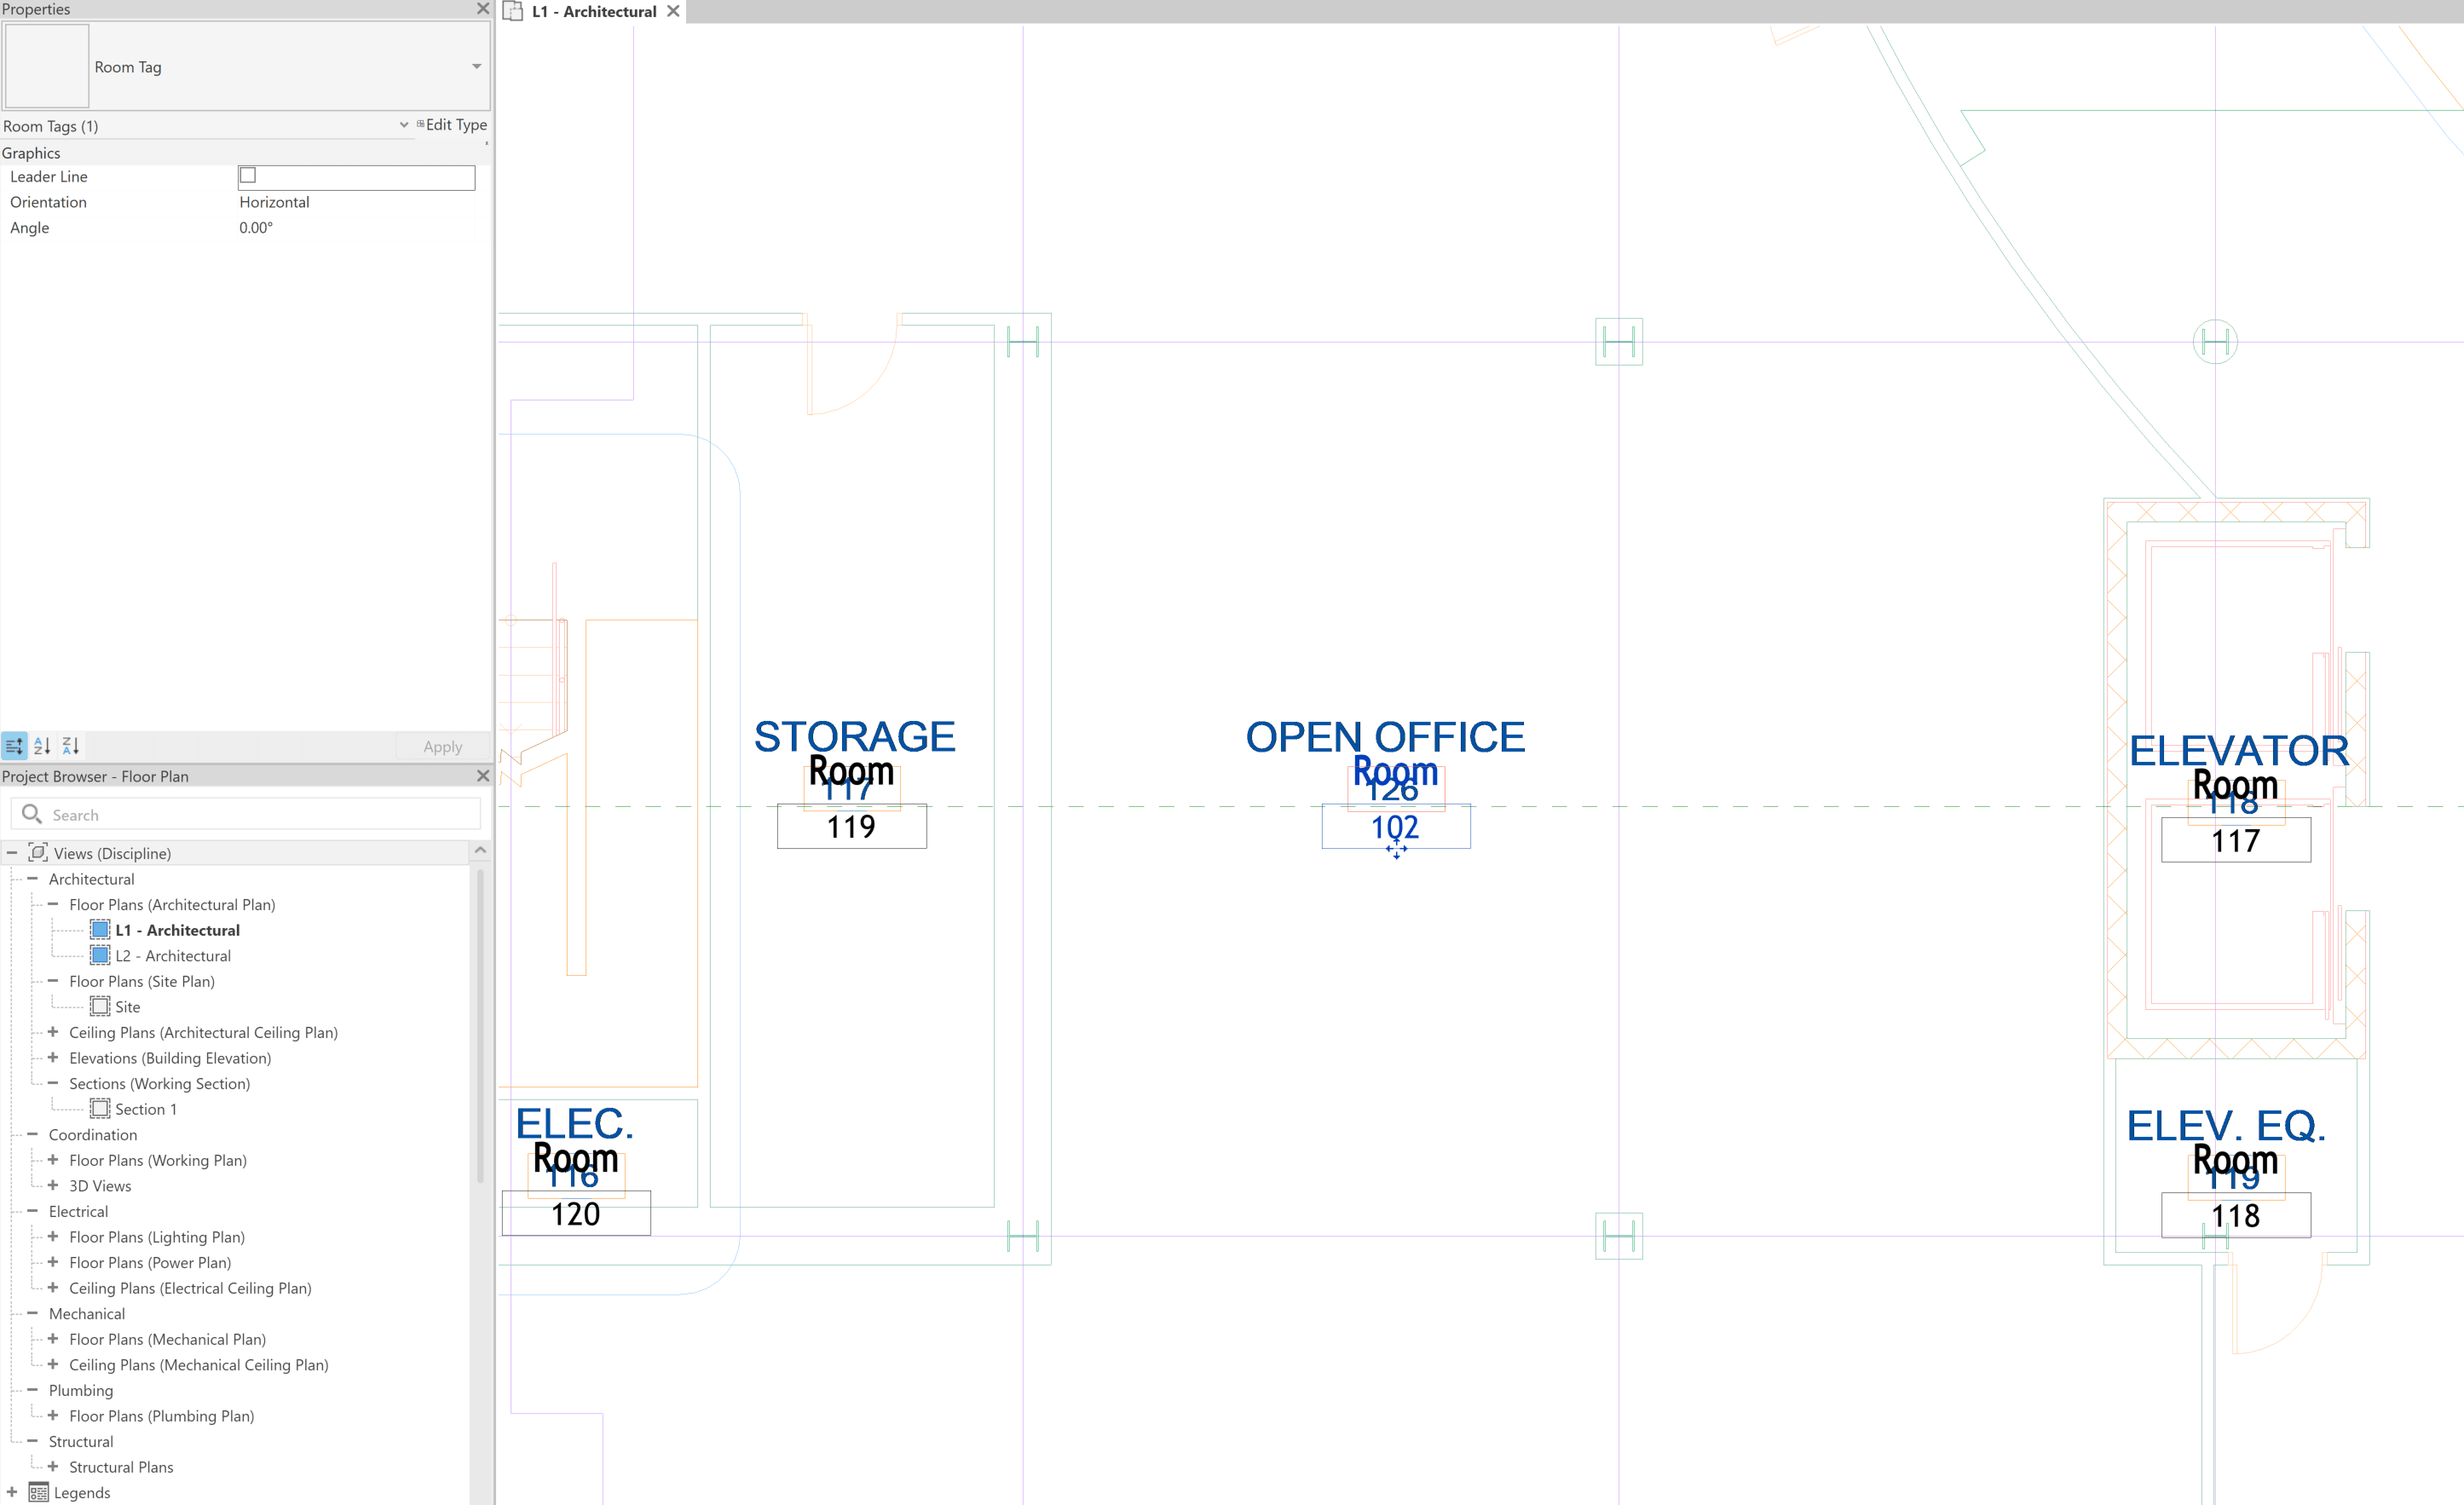
The utility has generated the rooms over the desired CAD layer. These elements can then be repositioned if needed.
Benefits of Using the ‘Rooms from CAD’ Utility
- Efficiency: Significantly reduces the time required to manually recreate room layouts from CAD files in Revit.
- Accuracy: Ensures precise translation of room boundaries, minimizing errors associated with manual drawing.
- Flexibility: Offers options to create room separation lines or physical walls, catering to various stages of the design process.
- Integration: Enhances interoperability between CAD and Revit, facilitating smoother transitions and better collaboration.
I am excited to share this versatile utility’s features with you and demonstrate how it can enhance your workflow in Revit. Let’s jump in and explore the full potential of the ‘Rooms from CAD’ utility in your projects!
About the Author
Follow on Linkedin More Content by Scott Green


