
Starting in Revit 2024, the Toposurface functionality was replaced by the Toposolid functionality. With Revit 2025 we now see several new features and improvements to Toposolids. In this blog I will go over some of my favorite additions to Toposolids:
· Toposolid Excavations.
· Excavated Surfaces Host Elements
· Shafts on Toposolids.
· Toposolid Smooth Shading.
Before I begin, for those who are not familiar with the changes implemented in 2024 and what main differences there are between Toposurfaces and Toposolids:
1. Toposurfaces are surface geometry, Toposolids are solid geometry (i.e they can contain layers).
2. Toposurfaces are built out of points along contour lines. Toposolids work more like floors than Toposurfaces, they consist of points connected by vertices like how you would modify a floor in Revit.
3. Toposurface boundaries are determined by the points you place along the contour lines, you cannot hard define the boundary. With Toposolids, the boundary is hard defined by a sketch (like in floors) and the sketch can be modified with the draw tools.
4. Toposolids can be built up by layers (controlled under ‘Edit Type’) where Toposurfaces cannot be constructed by layer.
5. Contour lines in surfaces are defined in Site Settings, contour lines for solids are controlled by ‘Contour Display’.
6. With surfaces, if you sub-divide the surface, you can set a material for the sub-division. With solids, you can now (as of 2024) change material, set height for the sub-division, and toggle whether or not the sub-division will inherit the contouring from the parent toposolid.
7. For building integrations, surfaces could have building pads added to them. These pads worked like floors. With toposolids, we rely on the fact that these can now be cut with voids (new excavation tools improve upon this workflow) to accommodate a building.
That said, let’s look at the new Toposolid Excavation features.
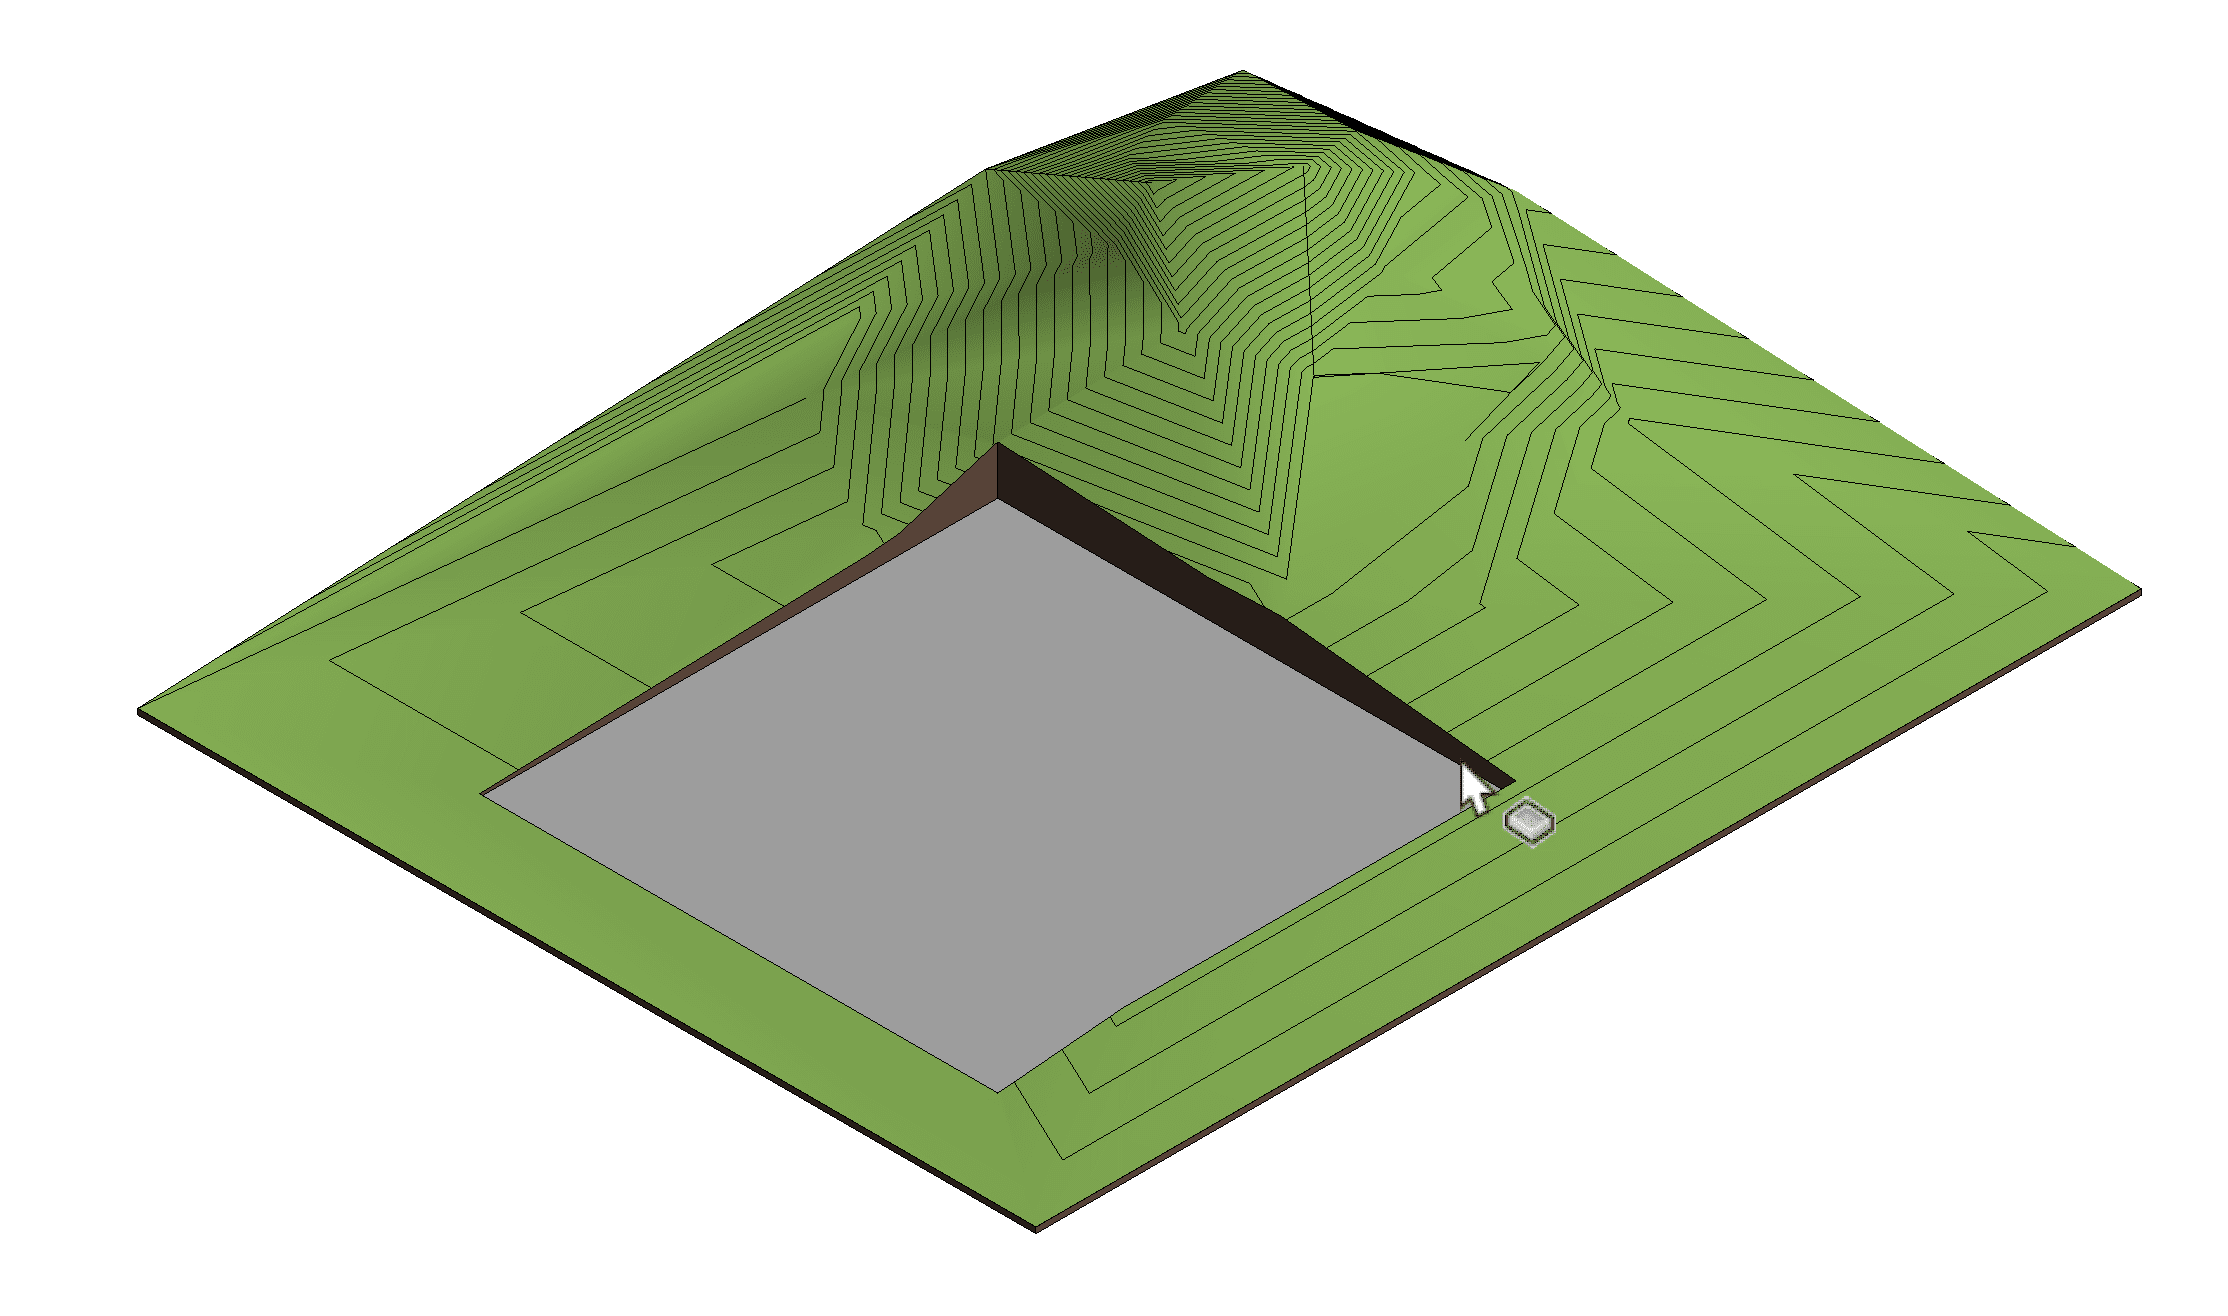
Toposolid Excavations:
Using a floor, roof, or another toposolid elements, we can now add excavations to a Toposolid. We can then add buildings to these excavations or use them for parking areas. This feature reduces the need to use masses to cut voids out of Toposolids and allows you to control the excavation by sketches (hence why you use floors, roofs, or other Toposolids to create them).
How to Add Excavations on a Toposolid:
- From the ‘Massing & Site’ tab on the ribbon, create a Toposolid
 , then create a Floor.
 - After placing a floor – select the Toposolid.
- Under the ‘Modify Toposolid’ tab in the Ribbon,
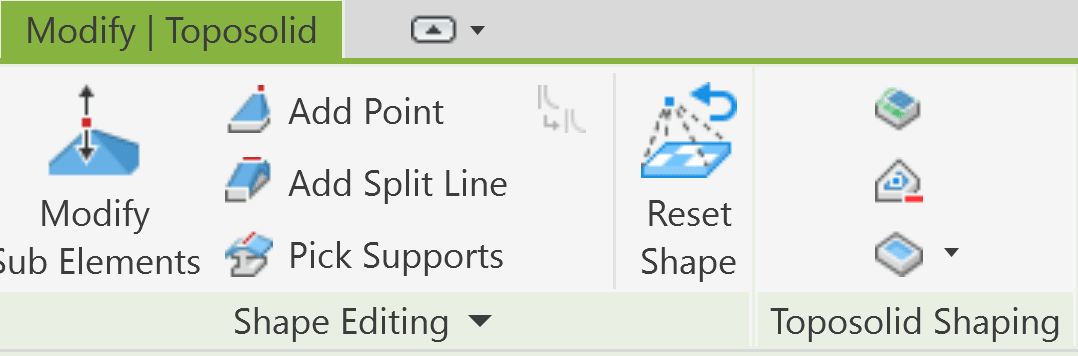 select the ‘Excavate’ icon
 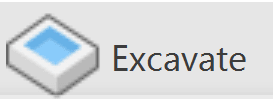 from the ‘Toposolid Shaping’
 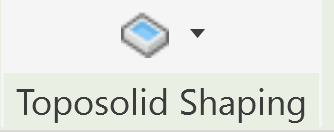 panel.
 - An excavation icon will replace the default mouse icon. Using the mouse, click on the outline boundary of the floor. The excavation will automatically conform to the boundary and level of the floor.
Excavated Surfaces Host Elements:
Elements can now be hosted to excavations placed on Toposolids. After placing an element on a excavation, the excavation acts as a Boolean surface. We can use ‘Pick New Host’ to select the excavated surface and under the hosted element’s properties it will display under ‘Host’ the Toposolid it was hosted to (not the excavation since that becomes part of the Toposolid).
Excavated Surfaces Host Elements
1. Place an excavation (see ‘Excavations on Toposolid’ above).
2. Once the excavation is in place, go to ‘Component’ in the Architecture tab and select ‘RPC Tree – Deciduous American Beech – 20’’ 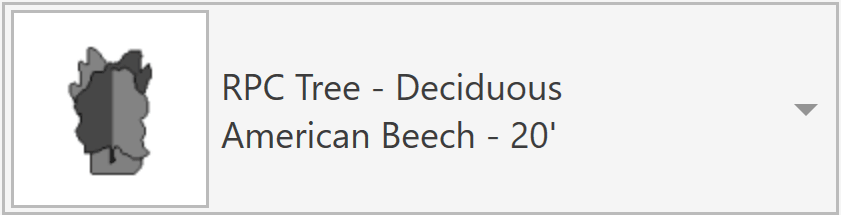 .
.
3. Place the component on the excavation.

4. Select the component and then in the ‘Modify | Planting’ tab, select ‘Pick New Host’ 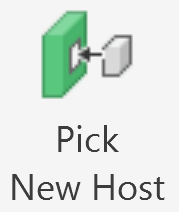 and then select the Toposolid.
5. Click on the component again and check the ‘Properties’ panel. Note that the component now displays the ‘Host’ value as being the Toposolid.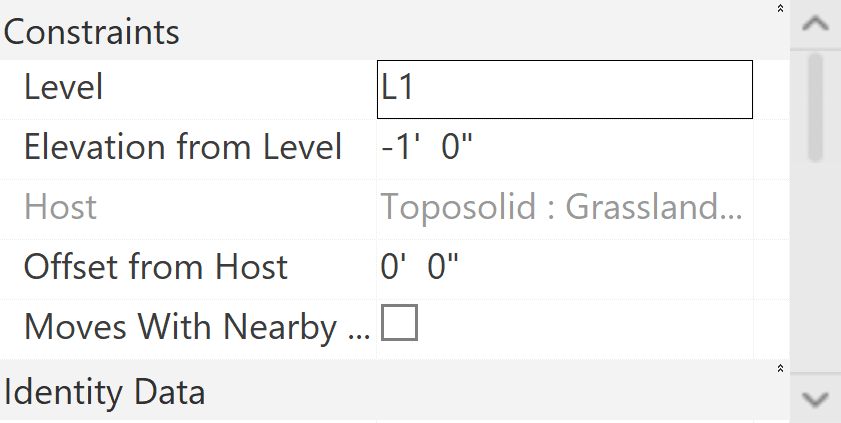
Shafts on Toposolids:
In Revit 2024, when working with shafts on Toposolids, the shaft would cut completely through the Toposolid. Now, the bottom of the shaft will respect its relative position inside of the Toposolid – the shaft will no longer cut completely through the Toposolid. The shaft can still be controlled to be raised higher or lower (if you want to cut all the way through) within the toposolid. See below:
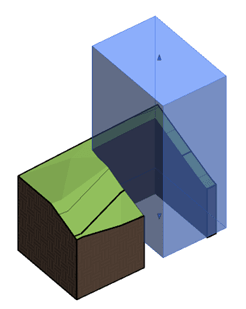
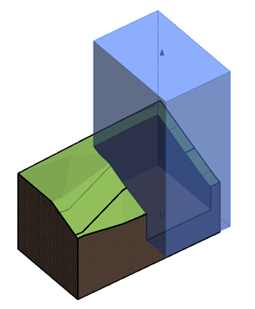
Revit 2024 Versus Revit 2025
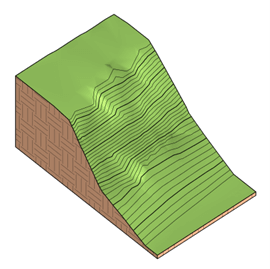
Create Toposolid from a Mass Face:
In Revit 2025 we can now create a Toposolid on any non-vertical face of a mass by using the ‘Modify | Place Toposolid by Face’ tool. This provides users with greater flexibility when working with masses for generating Toposolids.
Toposolid by Face:
1. Go to the ‘Massing & Site’ tab from the ribbon and select ‘Place Mass’ ![]() from the ‘Conceptual Mass’ panel.
from the ‘Conceptual Mass’ panel.
2. Either create a new mass or alternatively, select a mass family such as ‘Barrel Vault’ 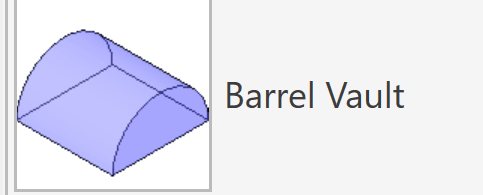 for example, and place it in the project.
3. From the ‘Model by Face’ panel 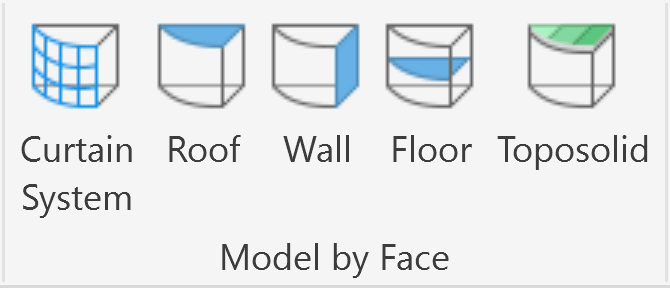 in the ‘Massing & Site’ tab, and select ‘Toposolid’ tool.
4. Select a non-vertical face of the mass.
5. From the ‘Modify | Place Toposolid by Face’ tab select the ‘Create Toposolid’ tool.
tool.
6. Select and delete any other remaining areas of the mass not selected to become a toposolid. The mass is now a toposolid. 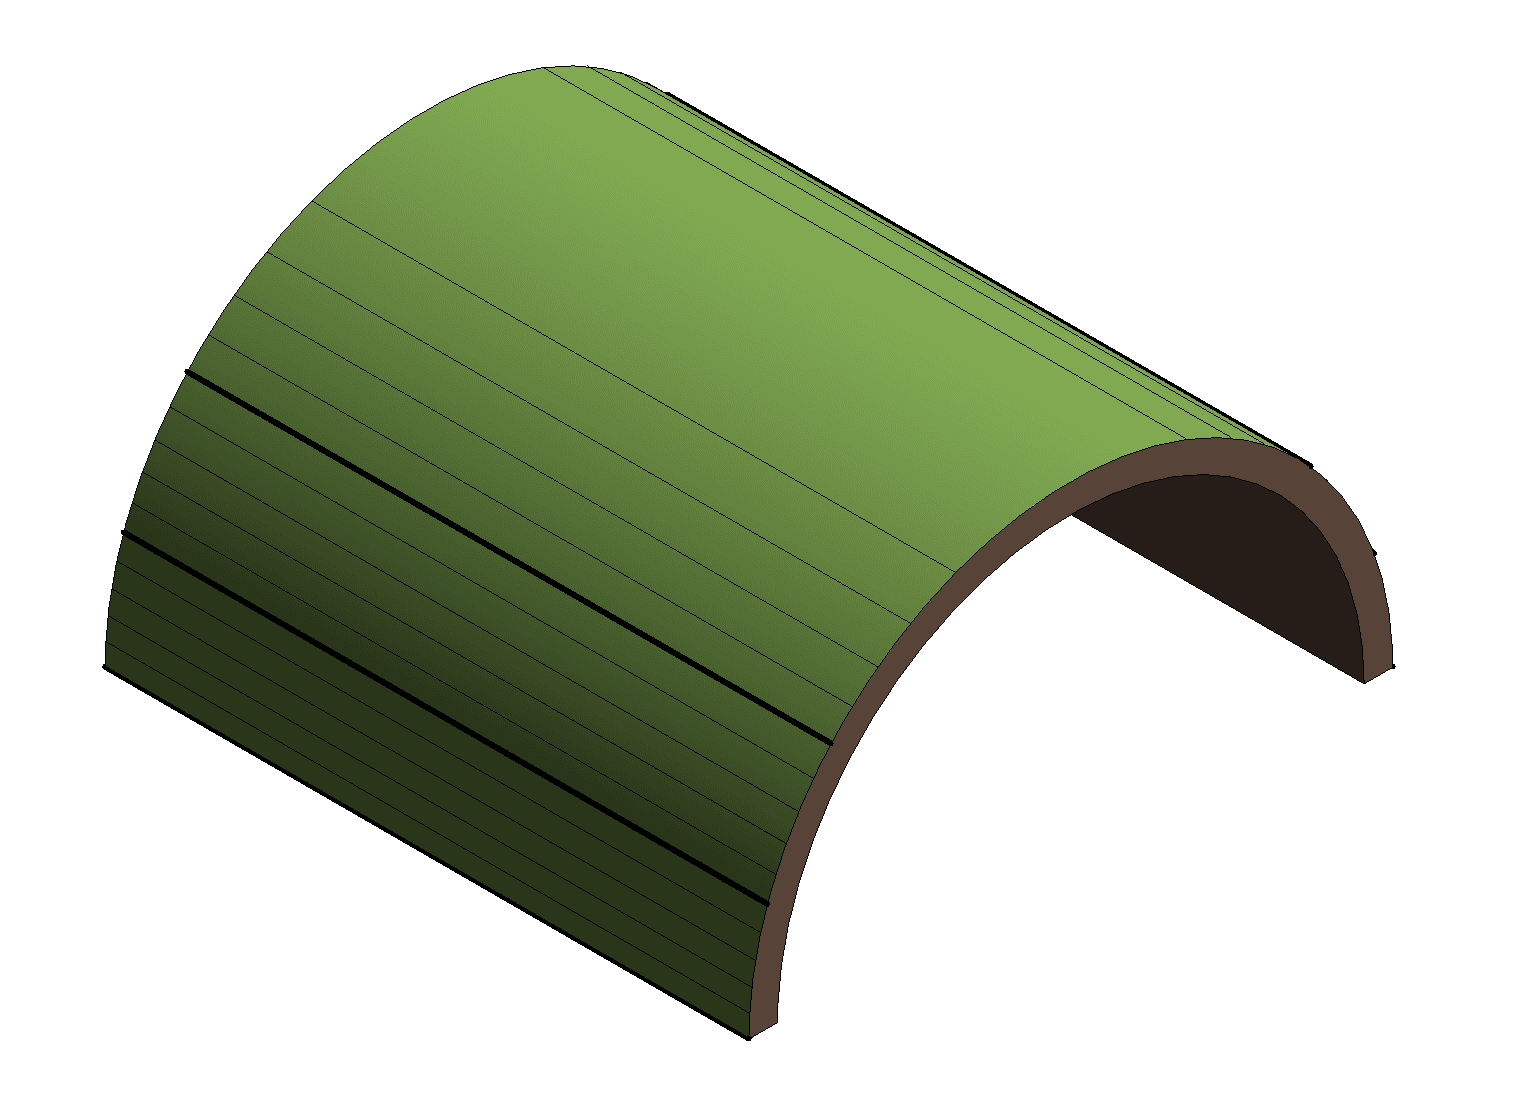
Toposolid Smooth Shading:
To improve the graphic display of Toposolids, Revit 2025 introduces the option to enable Toposolid smooth shading. This option allows the contours of the Toposolid to appear smooth when using the shaded, consistent colors, textures, and realistic visual styles. To enable smooth shading, go to ‘Massing & Site’ tab > ‘Model Site’ panel > ‘Toposolid Smooth Shading’.
Example:
 Without Toposolid Smooth Shading
 With Toposolid Smooth Shading enabled
These new features makes the Toposolid tool more versatile and in my opinion were my favorite features from the 2025 release. I look forward to seeing what new features and improvements Autodesk will add to future updates and releases.
About the Author
Follow on Linkedin More Content by Scott Green


