
Issue
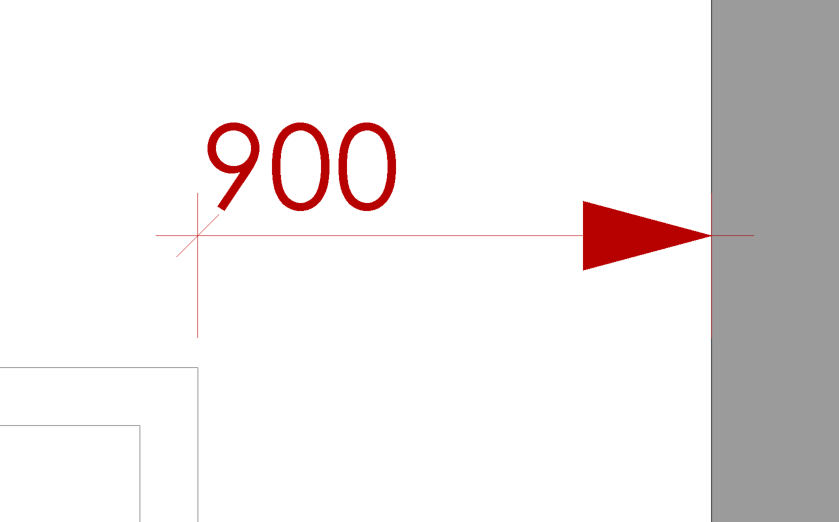
You want the Dimension Tick Mark to be different on each end of a Dimension Line in Revit.
Solution
There is currently no functionality to change the dimension ticks on either ends of a dimension line separately in Revit, however, you can work around this by using Ordinate Dimensions.
Take the following steps:
-
-
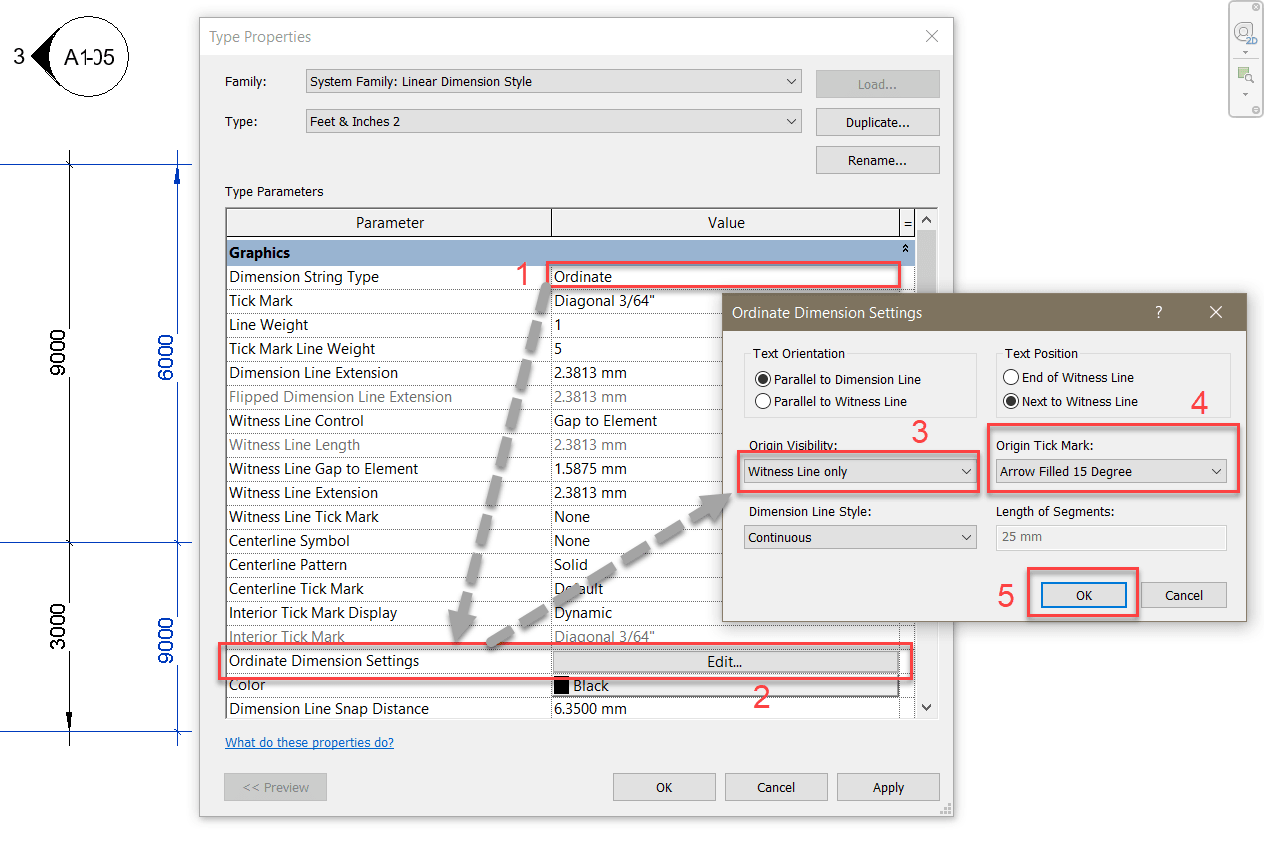
- Select a dimension with the dimension style you wish to modify, click on ‘Edit Type’ on the properties panel to open the Type Properties.
- On the Graphics section, change the Dimension String Type to 'Ordinate'.
- Open the Ordinate Dimension Settings dialog and set the ‘Origin Visibility’ to ‘Witness Line only.’
- Change the ‘Origin Tick Mark’ according to your preference, and select OK to save and close the dialog.
-
Note these: There is no option to position the Dimension Text in the middle of the Dimension Line by default.
You can switch the origin point of the dimension using the flip control.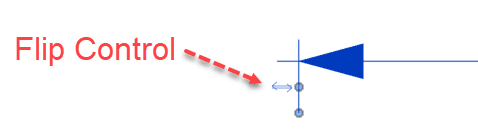
To see improvements in this area or other features of Revit, you can put your idea in the Revit Idea Station, or give support to an existing idea.
See also - How to submit a product enhancement idea for Autodesk Revit or Revit add-ins.


