Issue:
You need to install the Standalone IMAGINiT Utilities for Civil 3D 2025-2020 and want to know how.
Solution:
If you have not already done so, you’ll need to generate the Authcode, please see this blog and pay attention to the notes at the bottom.
https://resources.imaginit.com/support-blog/how-to-obtain-an-imaginit-utilities-license
Once you’ve generated it, you should receive an email and it will look something like this:

1. Click the link to download the Utilities.
Note: if it doesn’t automatically start to download, try right-click and copy the link and paste into the browser or a different browser. If you are still unable to download, then please contact your IT.
2. Right click the .zip file and select Properties.

3. Check the box to “Unblock” and click Apply, then click Ok.

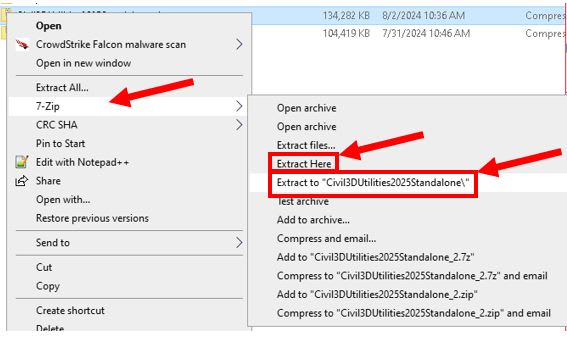
4. Move the file into C:\Autodesk folder, then use Right-click and click “Extract All…”

Note: Your options may differ depending on what software is installed. If you have 7-Zip installed you can use Right-click>7-Zip>“Extract Here” or Right-click>7-Zip> “Extract to “Civil 3DUtilities2025Standalone\”.

5. Please extract the files into the default location by clicking "Extract All" (from above) and "Extract" on the dialog.:

6. Once extracted, go into the folder and find the .exe file.

IMPORTANT: Exit all versions of Civil 3D before installing.
7. Go into Control Panel>Programs & Features and uninstall the current version of the IMAGINiT Utilities for Civil 3D (if it exists).
8. Right click the “IMAGINiTUtilsCivil3D2025.exe” and select “Run as administrator”.

9. Click “Next” on the first dialog.

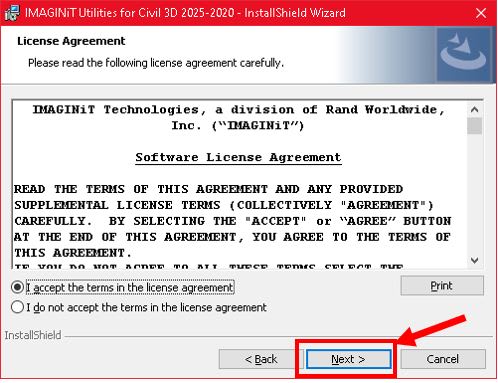
10. Read and If you accept the terms, then the check the box “I accept the terms in the License Agreement” click “Next”

11. Click “Install”.


12. At the end of the install, it looks for a license and it will not be there until you activate it with the Authcode you received in the email. Click the “Activate Standalone with Authorization code” button.

13. Paste in the Authcode from the email you received:

14. And click “Authorize”
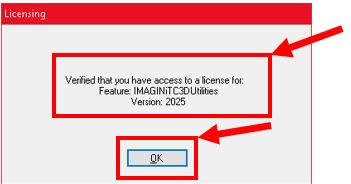
Once the license has been written to the hard drive, it will show you the location and how many more seats you can activate with the same Authcode:

15. Click Ok and tell you when it will expire.

16. Click Ok

17. Click “Finish”
18. Launch Civil 3D and test. I like to test using the “Point Station Report” tool.
IMAGINiT Utilities for Civil 3D Brochure:
https://resources.imaginit.com/brochures/imaginit-utilities-for-civil-3d
About the Author
More Content by Jeff Lotan


