
Issue:
You are having issues with your Autodesk software and believe the issue may be corrupted C++ libraries or indications are showing that is the issue.
Causes:
This can be caused by a number factors, but usually the best way to correct it is to uninstall and reinstall all the C++ components.
Solution:
How to uninstall/reinstall C++ modules
Causes:
This can be caused by a number factors, but usually the best way to correct it is to uninstall and reinstall all the C++ components.
Solution:
How to uninstall/reinstall C++ modules
1. Open Control Panel and click on Programs and Features

or

2. In the Upper right corner of the window look for this:

3. Click in the box and put in C++ then click the arrow or hit the Enter key to filter your results to only the C++ modules
4. Now Uninstall all existing C++ from Control panel (make note of what versions need to be reintalled), starting with the newest (v14) and work your way through the list
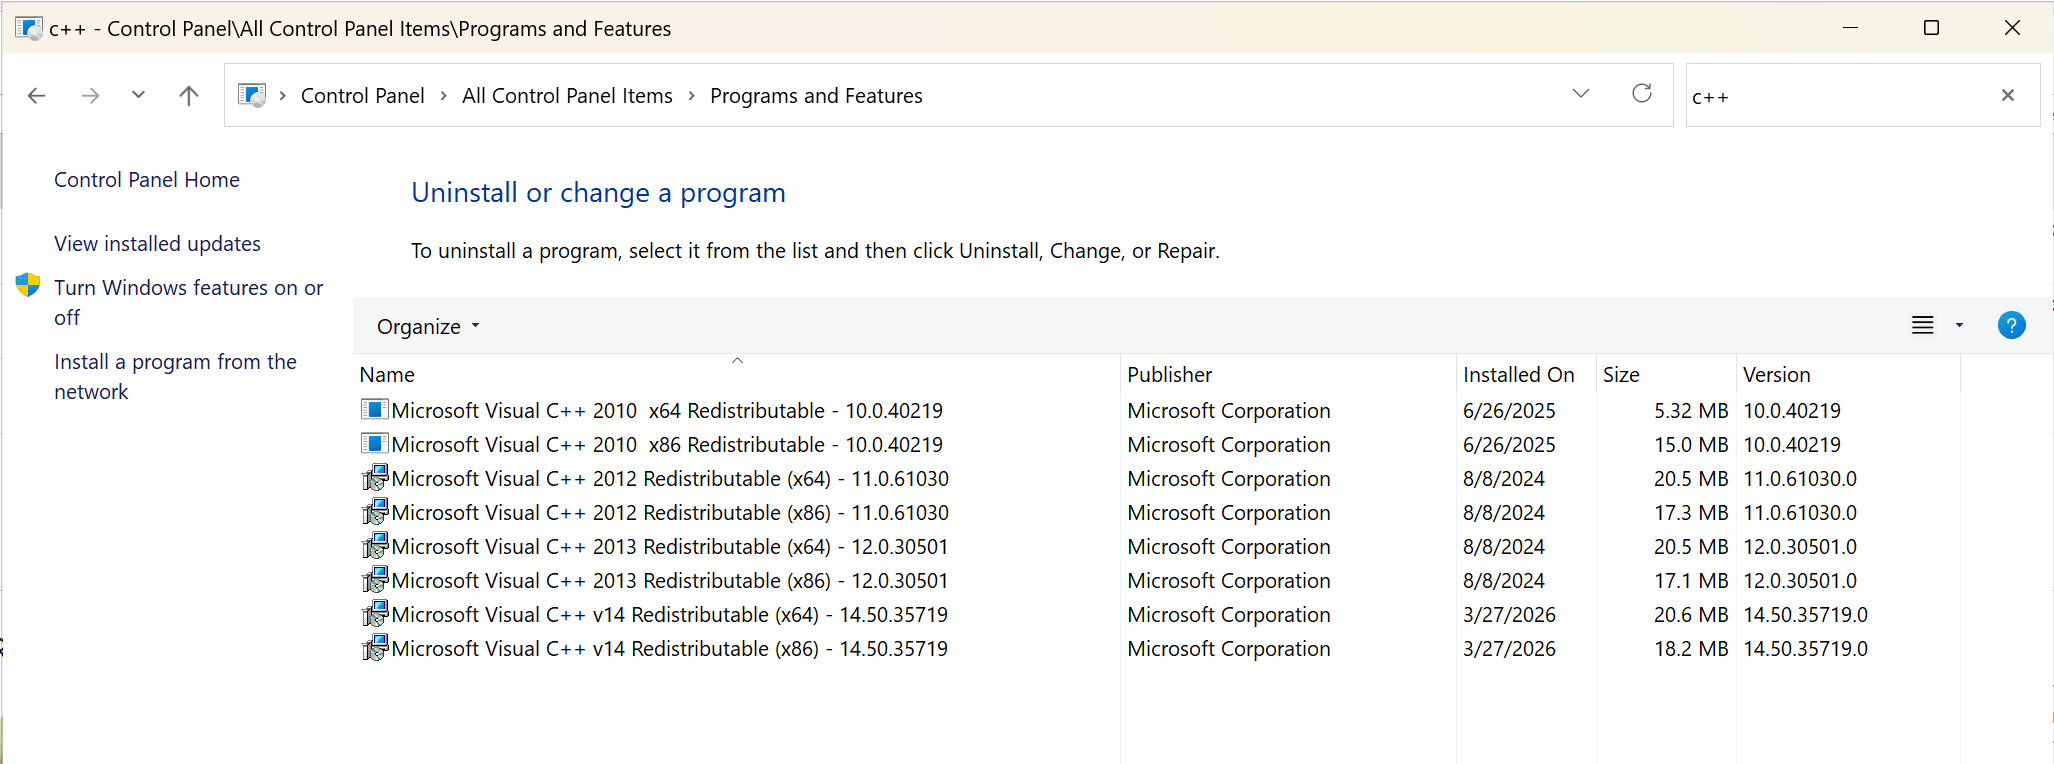
I generally see mismatches, missing either x86 or x64, or items without file sizes when I know there are issues. Right mouse click and follow the prompts to Uninstall (not repair) the installed C++ Module(s).
5. Using the links below, download the replacement C++ modules and install them:
C++ 2010
x86: https://download.microsoft.com/download/1/6/5/165255E7-1014-4D0A-B094-B6A430A6BFFC/vcredist_x86.exe
x64: https://download.microsoft.com/download/1/6/5/165255E7-1014-4D0A-B094-B6A430A6BFFC/vcredist_x64.exe
C++ 2012
x86: https://download.microsoft.com/download/1/6/B/16B06F60-3B20-4FF2-B699-5E9B7962F9AE/VSU_4/vcredist_x86.exe
x64: https://download.microsoft.com/download/1/6/B/16B06F60-3B20-4FF2-B699-5E9B7962F9AE/VSU_4/vcredist_x64.exe
C++ 2013
x86: https://aka.ms/highdpimfc2013x86enu
x64: https://aka.ms/highdpimfc2013x64enu
C++ 2017-2026 (aka V14)
x86: https://aka.ms/vc14/vc_redist.x86.exe
x64: https://aka.ms/vc14/vc_redist.x64.exe
6. Reboot the machine (to ensure the changes are fully implemented)
7. Retest and see if that resolves the issues you were experiencing.
About the Author
Follow on Linkedin More Content by Ryan Wunderlich


