
Issue:
What can I do with the Autodesk Custom Install History
Solution:
-
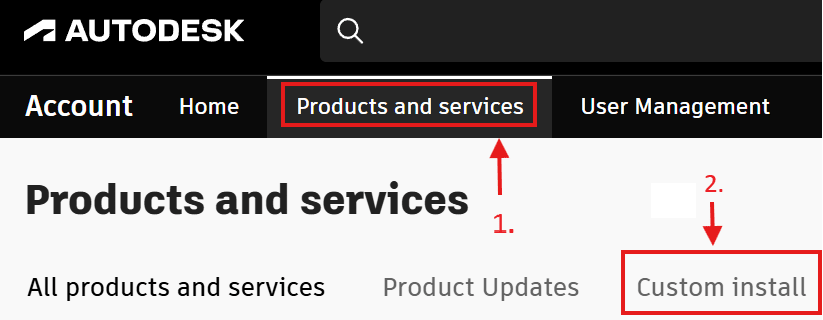
When you go to the manage.autodesk.com portal and click Product and Services at the top of the page, then click on Custom install. It will show a history of all of the Custom installs that you have created. This can be very useful.
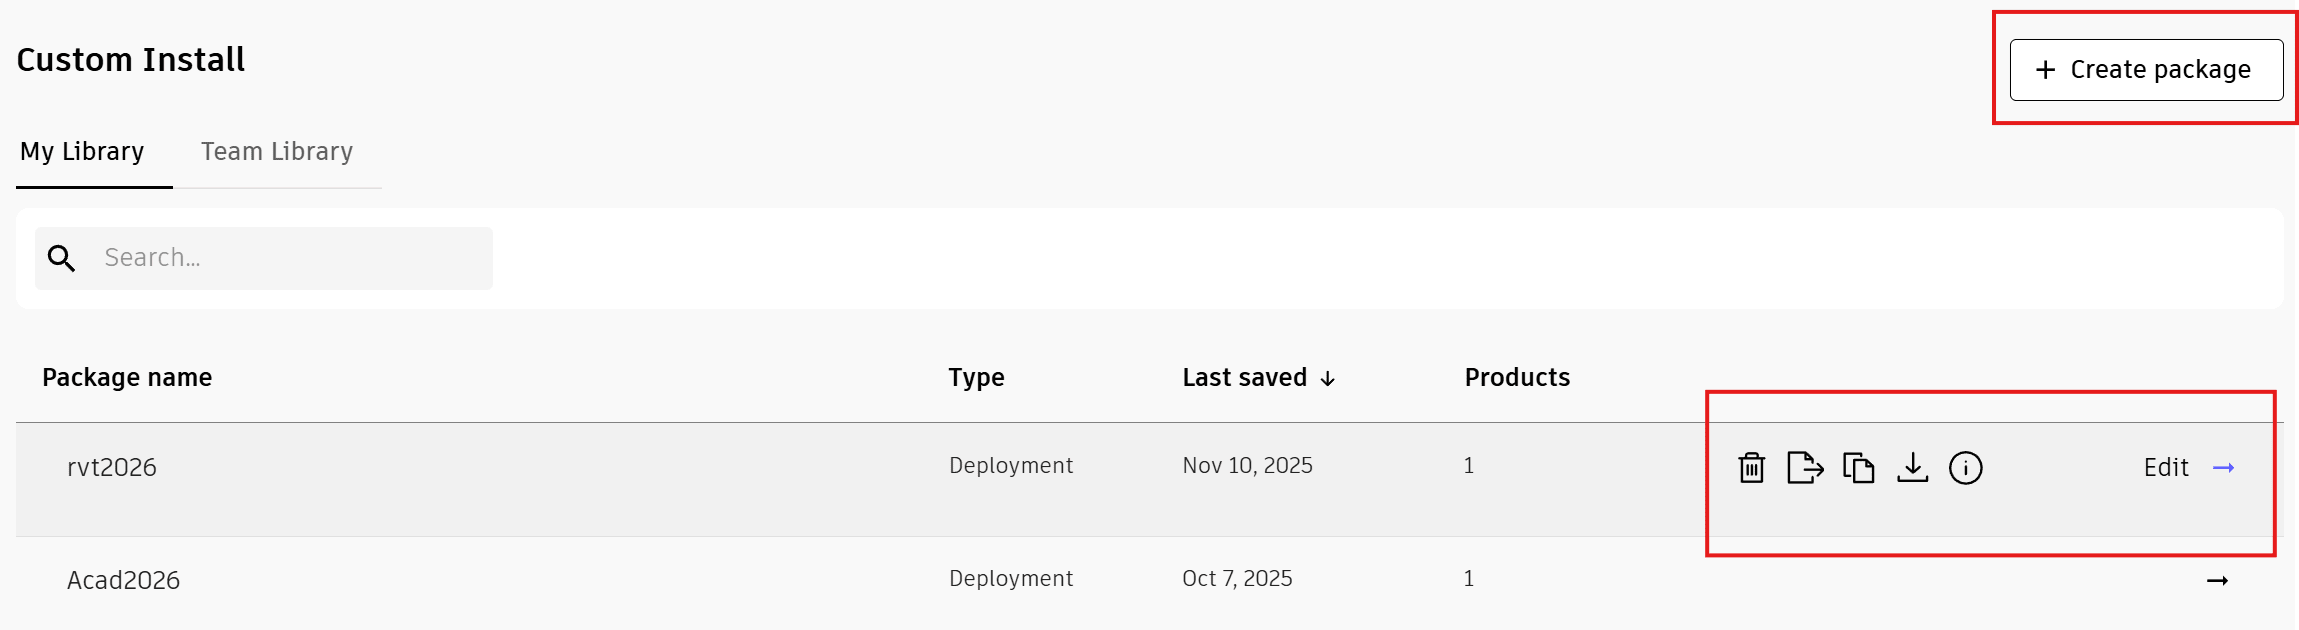
2. You either click “+ Create package” in the top right of the custom install page to start a new Custom Deployment or if you click the arrow to the far right of the product in the history, you will get a new menu of options.
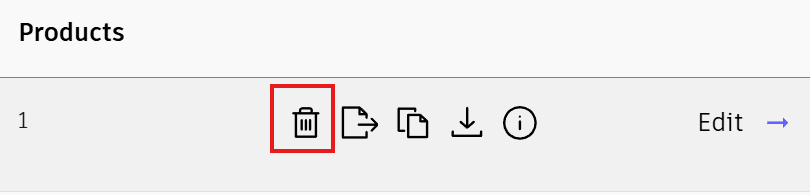
3. Clicking on the Delete button will delete the product from the custom install history.
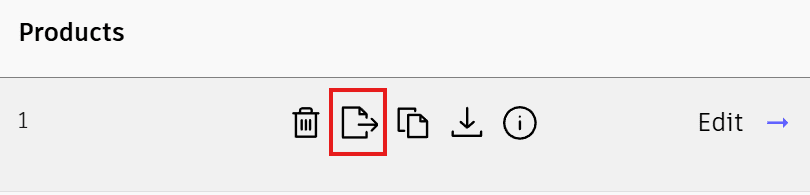
4. Clicking on the move button will move the deployment from My Library to the Team Library. My Library means only you can see the deployment and can make changes to it. The Team Library is for all the Primary and Secondary admins to be able to see the deployment history and can make changes to the deployment as needed.
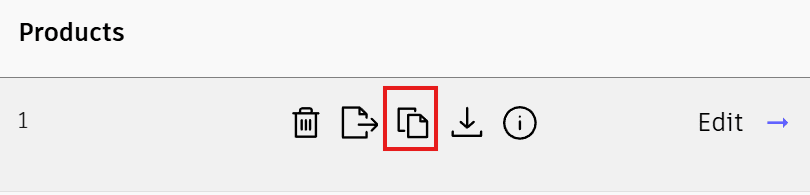
5. Clicking the Duplicate button creates a duplicate or a copy of the deployment. This can be useful if you want to make changes to a deployment for remote users or users in different departments and keep your custom or base settings.
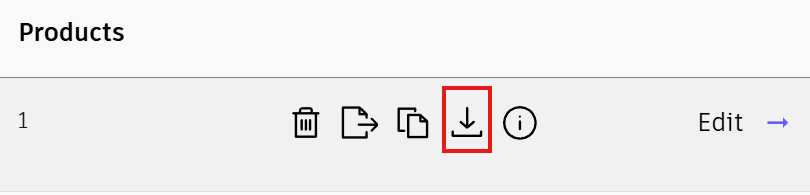
6. Clicking on the download button will download the setup file to start the download again.
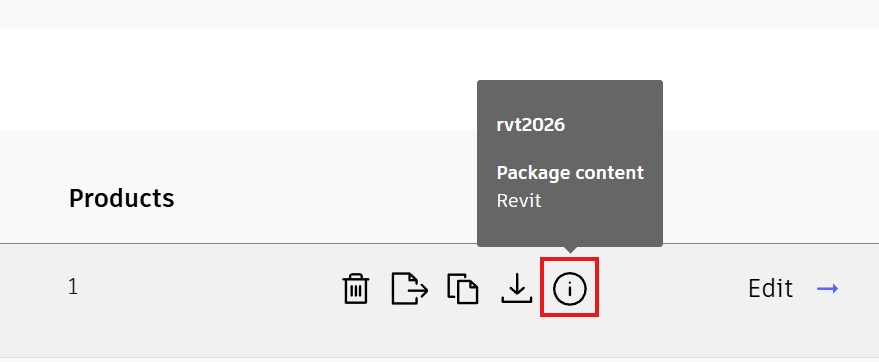
7. Clicking on the info button will give some information on the deployment.
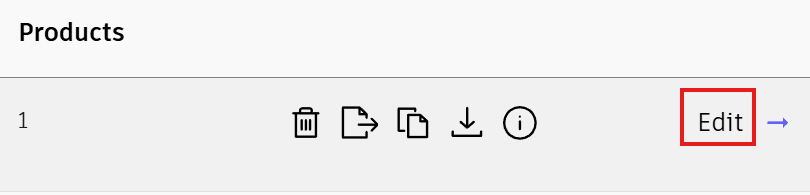
8. Clicking Edit will take you to the original options you chose when creating the custom install. You can make changes to the deployment, such as adding updates, changing the download location, and so forth.
About the Author
Follow on Linkedin More Content by Ken Williams


![Failed to retrieve a Autodesk Vehicle Tracking license [Error code 3- this product has not been registered with the licensing service yet]](https://content.cdntwrk.com/mediaproxy?url=https%3A%2F%2Fres.cloudinary.com%2Fuf-554092%2Fimage%2Fupload%2Fv1781788620%2FVTError_gp5cfk.png&size=1&version=1784012402&sig=90d6bf9682772a28997f22a8034d6215&default=)


