IMAGINiT Utilities - How to create an MSI for deployment

Issue:

I need to create an MSI file from the IMAGINiT Utilities EXE file for a network deployment.

Solution:

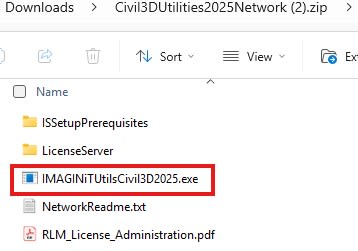
  1. Unzip the downloaded IMAGINiT Utilities.
  2. Run the IMAGINiT Utilities exe file. 


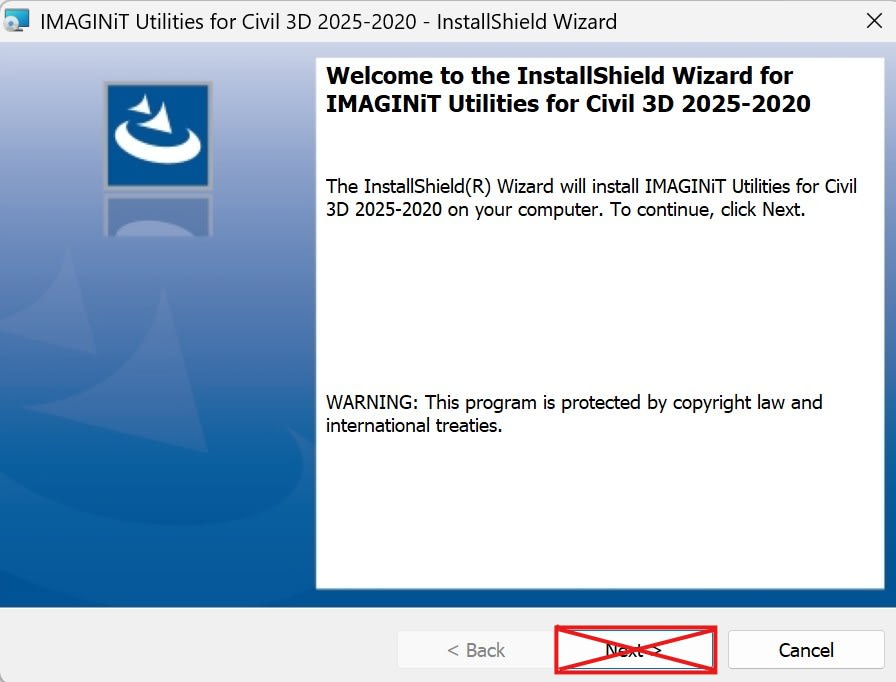
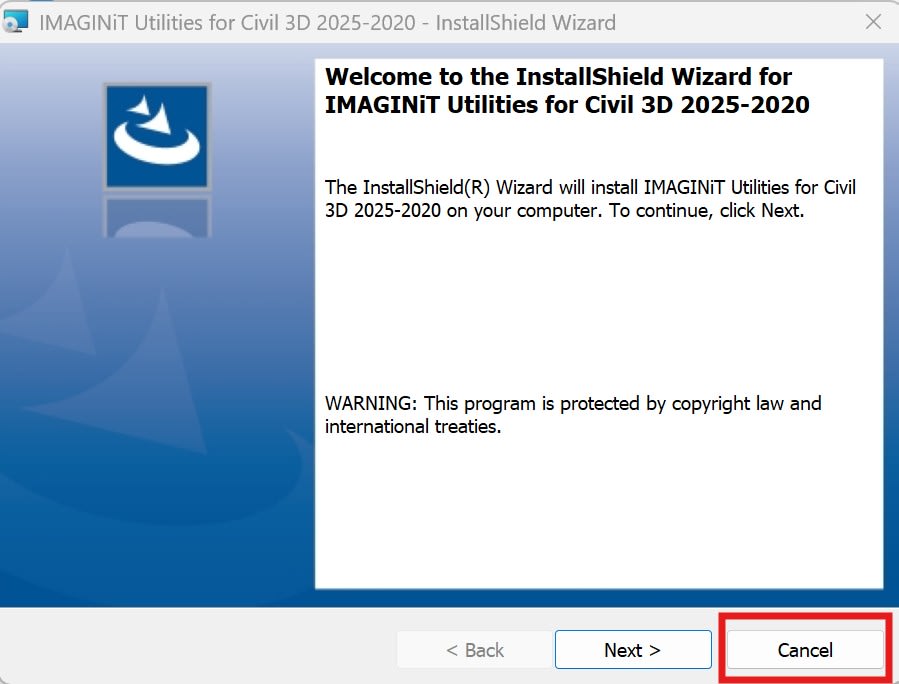
3. Once the installation starts, DO NOT click next.

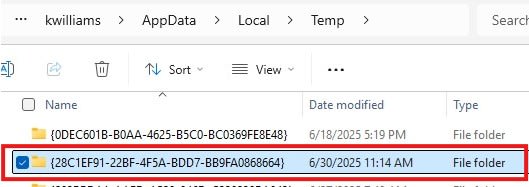
4. In Windows Explorer address bar type %temp%  

5. Find a folder with today's date and time, and open that folder.

6. Inside this folder, you will find the MSI installer file.

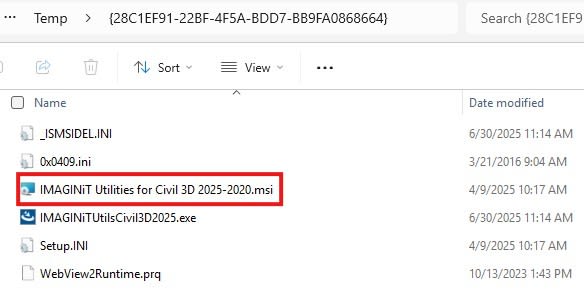
7. Copy this file to another folder. After you copy and paste the MSI file into another location, you can now close the installer.

8. You now have an MSI file to be used for an install deployment

About the Author

Ken Williams

Installation Technical Support Specialist<br><br>Ken Williams has over 20 years of experience as a systems administrator helping organizations with installation, configuration, and maintenance. At IMAGINiT, Ken puts his knowledge of Microsoft, SQL, servers, and Autodesk to work ensuring clients are able to stay up-and-running, install their software easily, and maintain their solutions.

Follow on Linkedin More Content by Ken Williams
Previous Article
Creating an Effective Support Request

You need to create a support case with IMAGINiT for assistance with your Autodesk products and you want to ...

Next Article
AutoCAD Electrical: Adding new Terminal Strip through Terminal Strip Editor

If the panel must be laid out before the schematics and terminals are needed to be inserted this is the bes...

Need tech support? Let us help!

Learn More