
Only Contract Managers and Primary/Secondary Admins can manage single-user product users.
Note: To change the Contract Manager or Primary/Secondary Admins
The Autodesk Account website is where you add/remove users, assign them single-user software licenses and cloud services.
In order for users to be able to activate and download their software assign them a license seat 0under User Management.
See https://resources.imaginit.com/support-blog/autodesk-download-manager-using-the-download-option on how to download software.
The following will walk you through how to:
- Add users
- Assign users software by user or product
- Delete users
User Management
Single-user products are managed under User Management:
User Management: where you manage single-user subscriptions and assign users a license to give them access to their software downloads, cloud services and activation.

Add Users
Note: Adding users does not automatically give them access to software. See the ‘Assign Single-User licenses to users’ section below.
1. Sign in to Autodesk Account
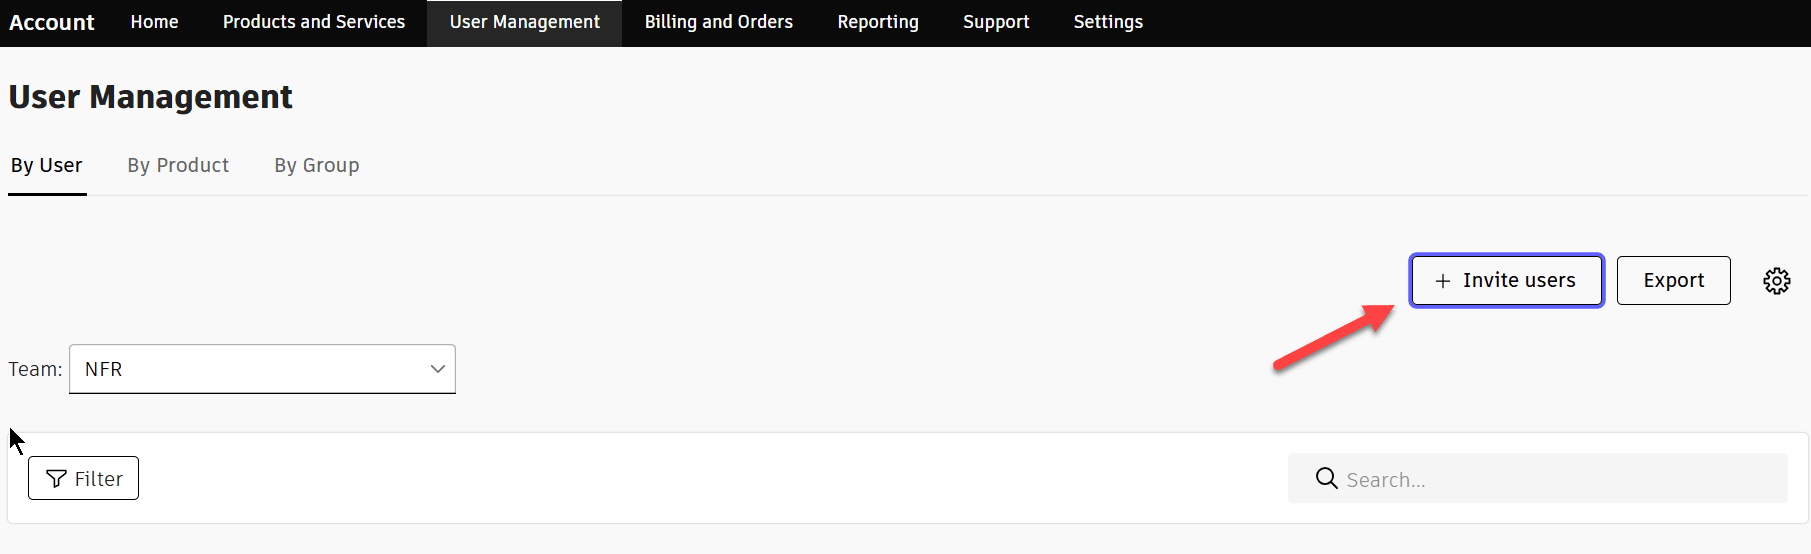
2. On the top of the page go to User Management > By User.
3. Select the Invite Users icon at the top right. If using Teams, choose a team in list before adding a user to it.
Note: For more information on Teams see https://resources.imaginit.com/installation/manage-users-in-teams-in-autodesk-account.
4. Enter the user's first name, last name, and email address.
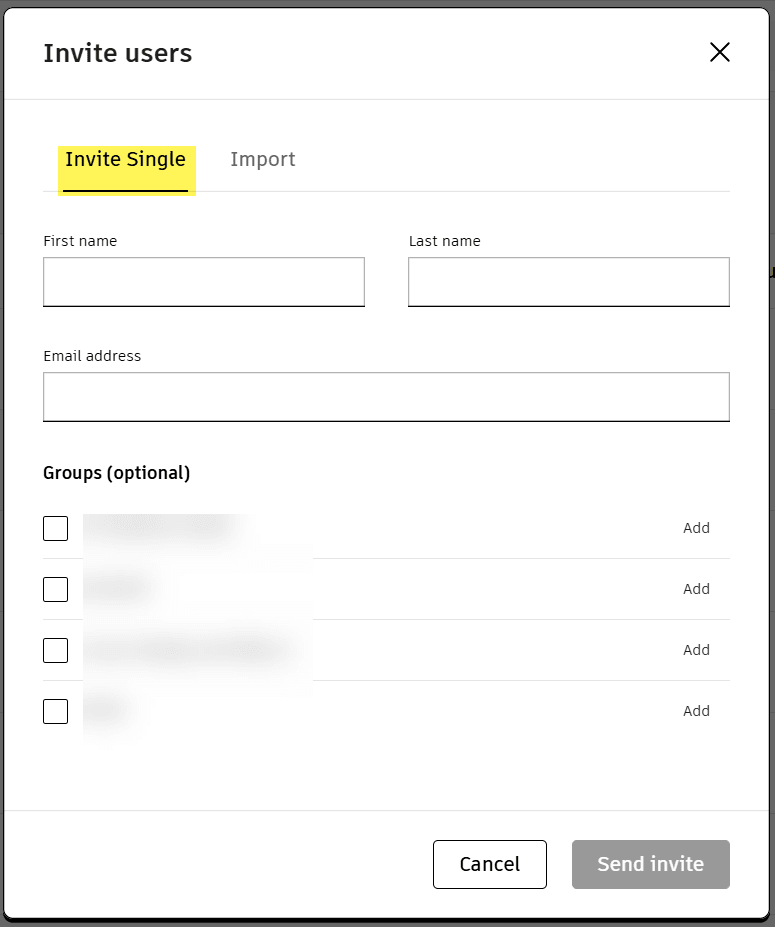
5. To add multiple users select the ‘Import’ tab (import a csv file):
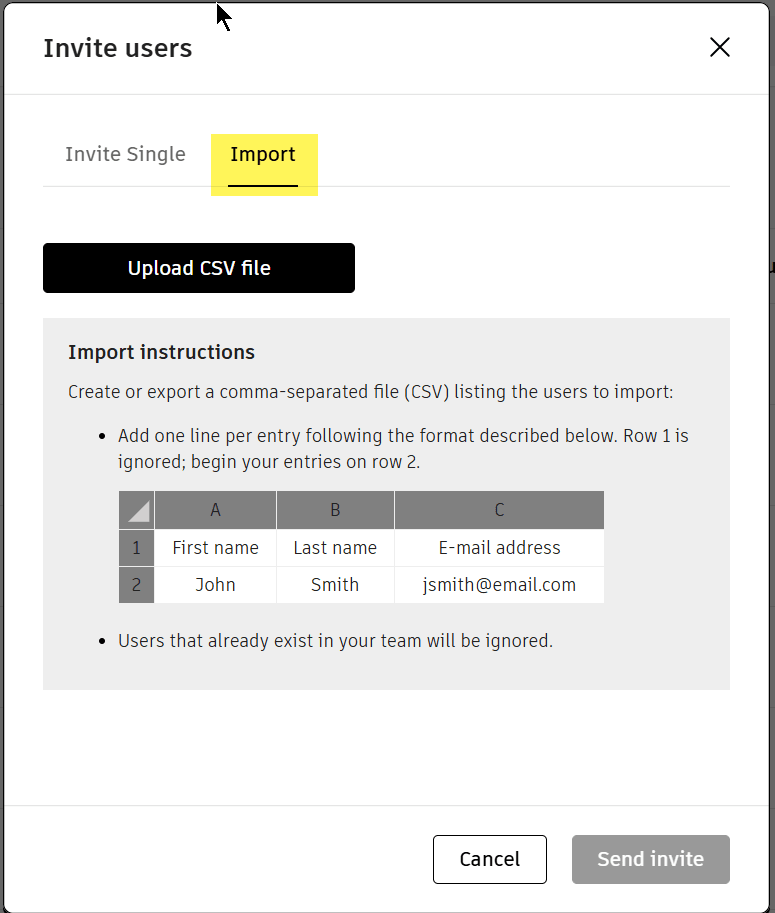
6. Click Send Invite. The user's status displays as 'Pending' until they accept the invitation.
Note: Users will receive a confirmation email from Autodesk. If they do not accept the invitation within 7 days, resend the invite.
Add users in Autodesk Account: https://knowledge.autodesk.com/customer-service/account-management/users-software/user-management/add-users
Assign Single-User licenses to users
Assign By User
1. Sign in to your Autodesk Account at manage.autodesk.com.
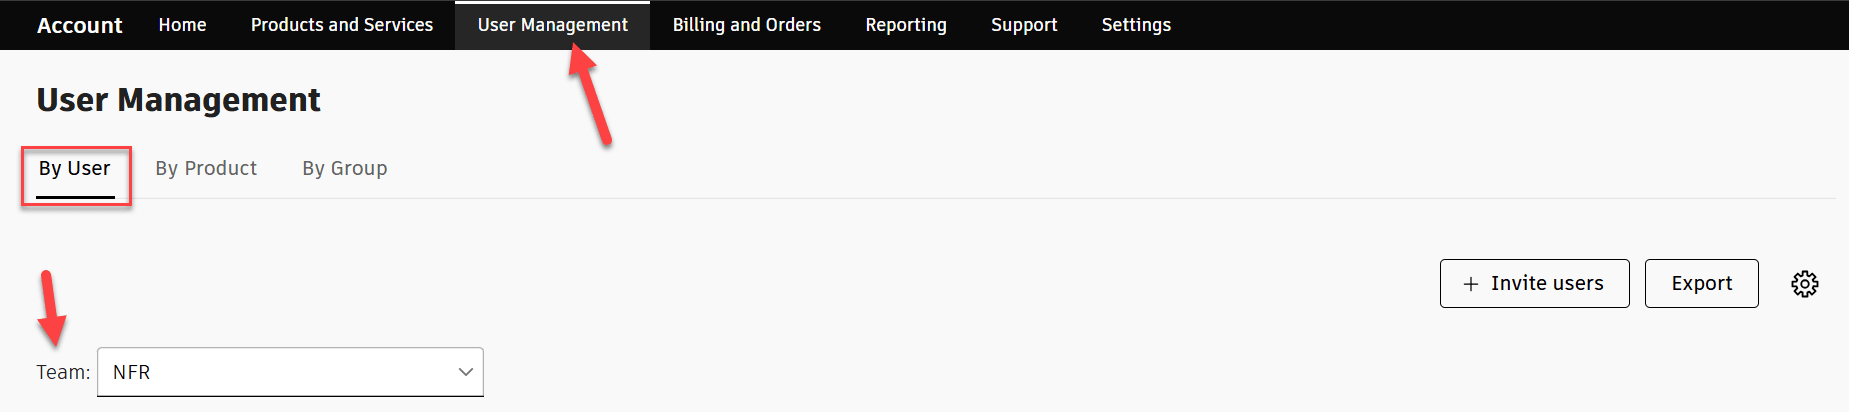
2. On the top of the page go to User Management > By User.
3. Next to Team: select the team where the single-user subscription is in:
4. Select the user in the list to view available products.
5. Select the Assign button beside the product license to assign:
6. Select each product and service to assign to the user. The number of available seats displays next to each product.
Note: The user will receive an email notification from Autodesk that the product is assigned and available for download. They have 7 days to accept, if they do not accept within that period resend the invite.
Assign Products By User: https://knowledge.autodesk.com/customer-service/account-management/users-software/user-management/assign-products-user
Assign By Product
1. Sign in to your Autodesk Account at manage.autodesk.com.
2. On the top of the page go to User Management > By Product.
3. Next to Team: select the team name where the single-user subscription is in:
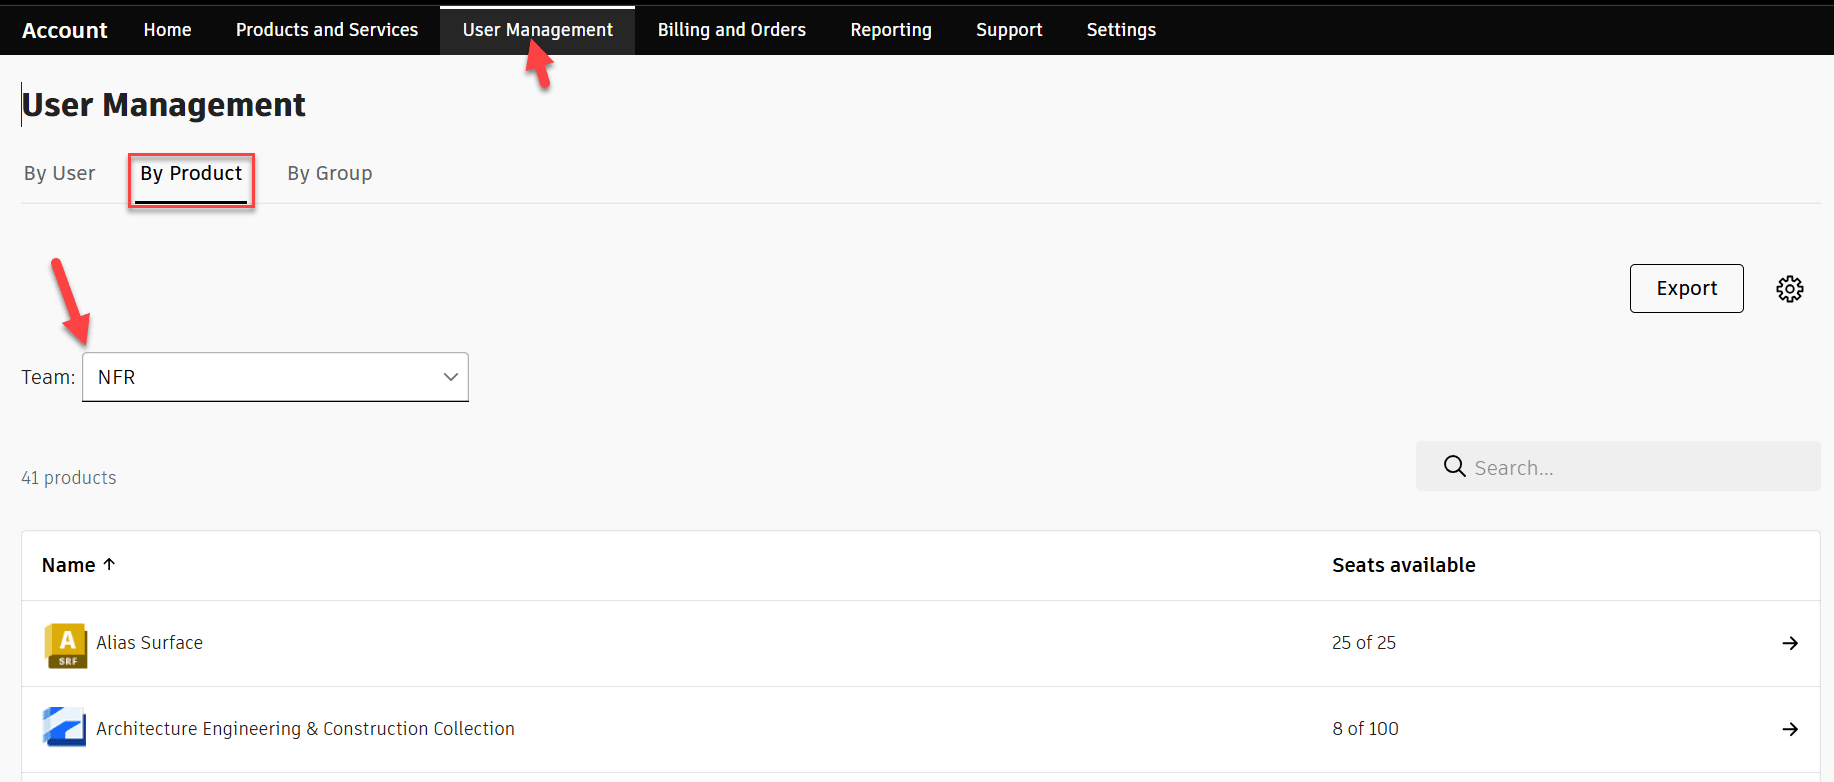
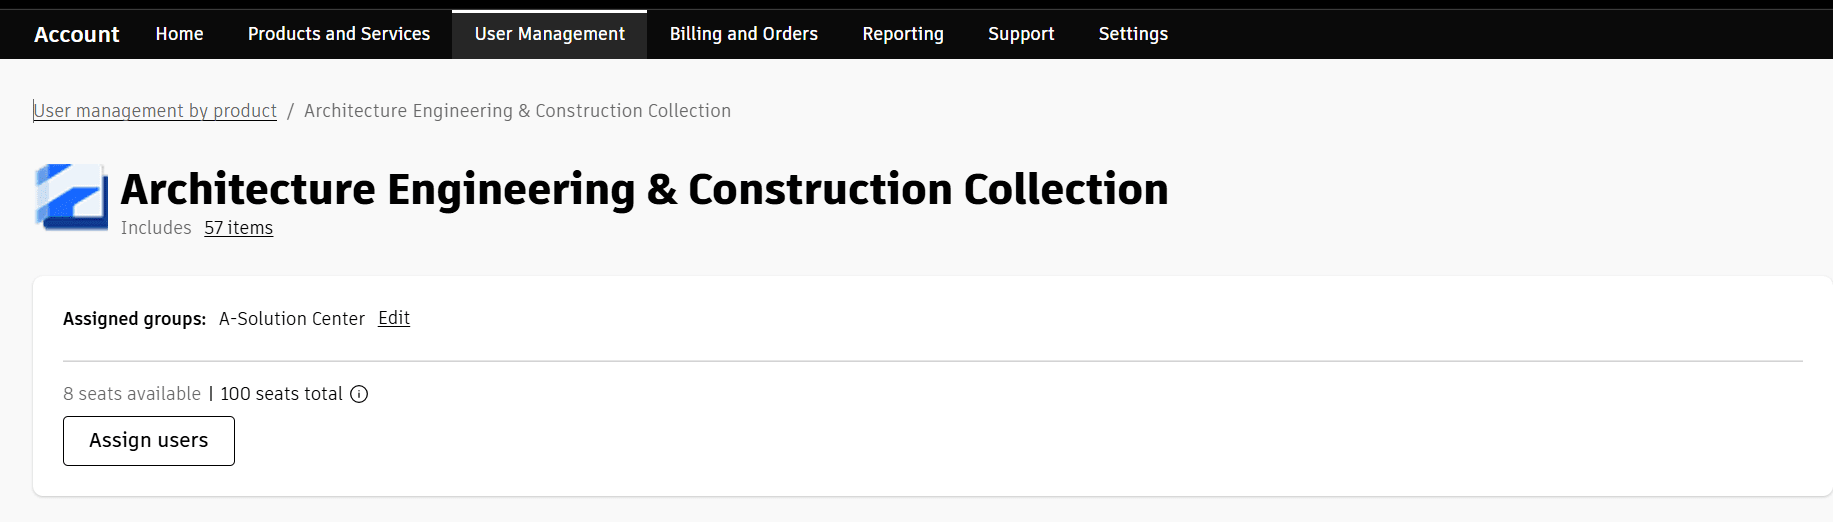
4. Select a product to see how many seats are available.
5. Click Assign users:
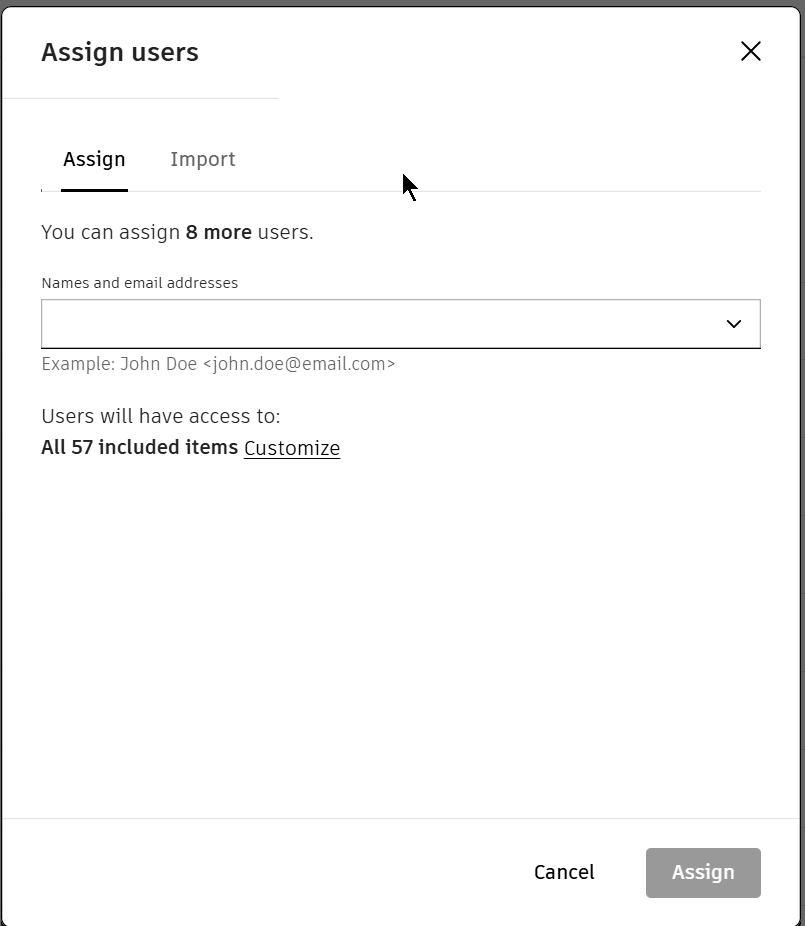
6. Enter in the user’s email address or paste a name and email address. Click Assign to assign all the product items or Customize to assign individual items.
To import multiple users select the 'Import to assign' tab(import a csv file):
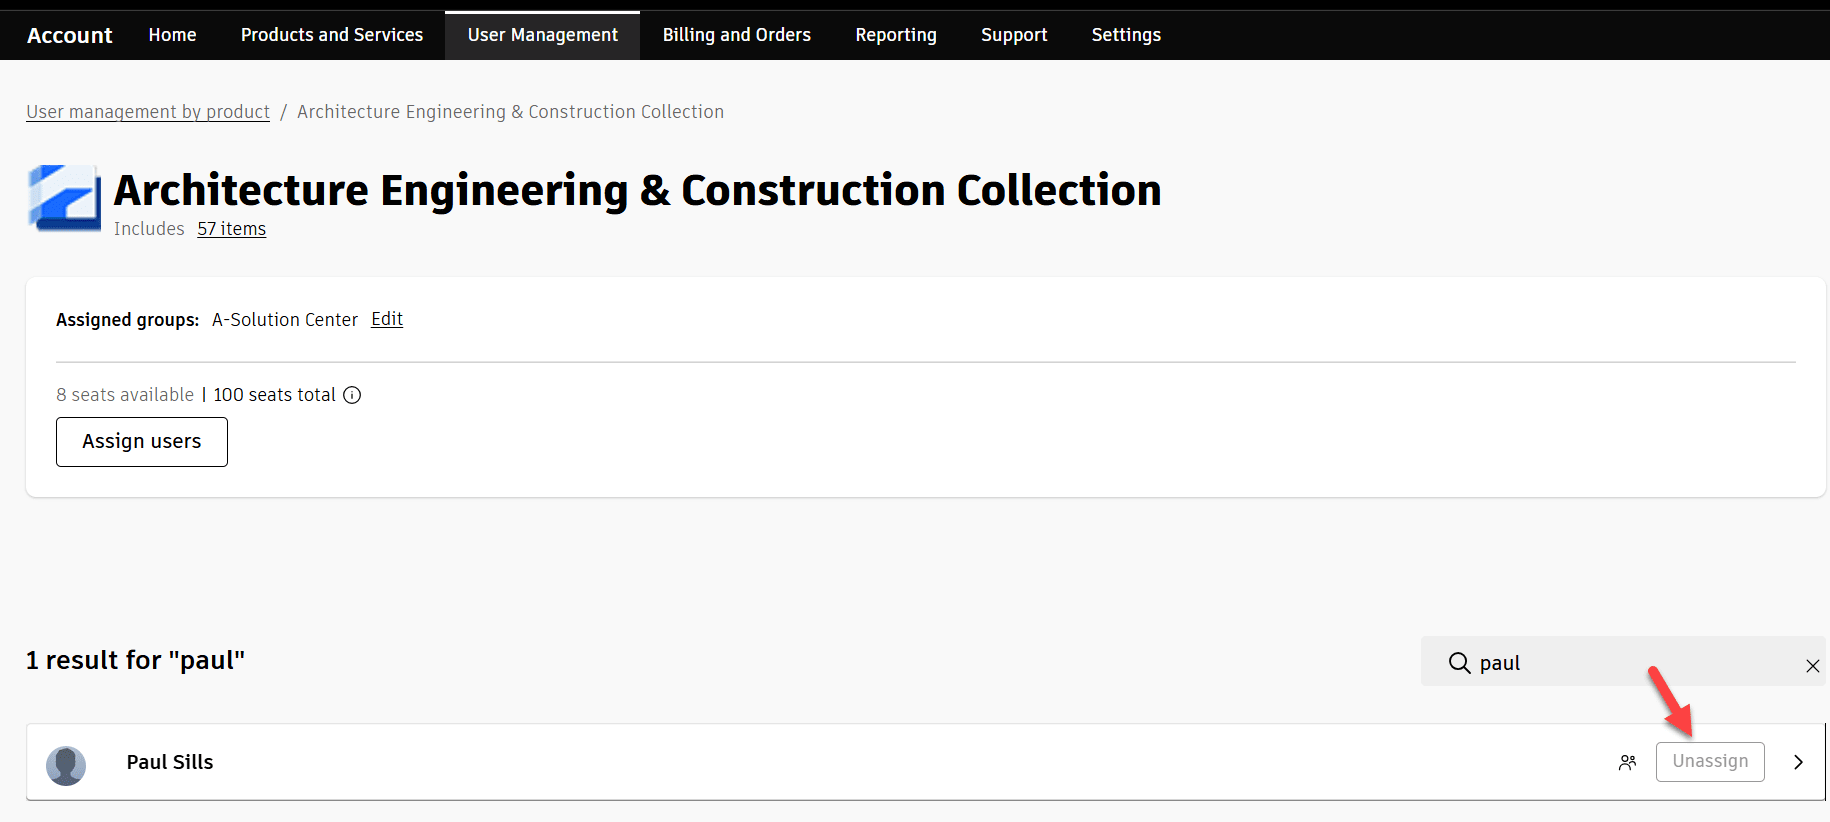
7. To remove products from a user click the Unassign button:
Assign users by Product: https://knowledge.autodesk.com/customer-service/account-management/users-software/user-management/assign-users-to-products
Remove Users
To delete users that no longer work for the company:
Note: This does not delete the user’s account but removes their software license access.
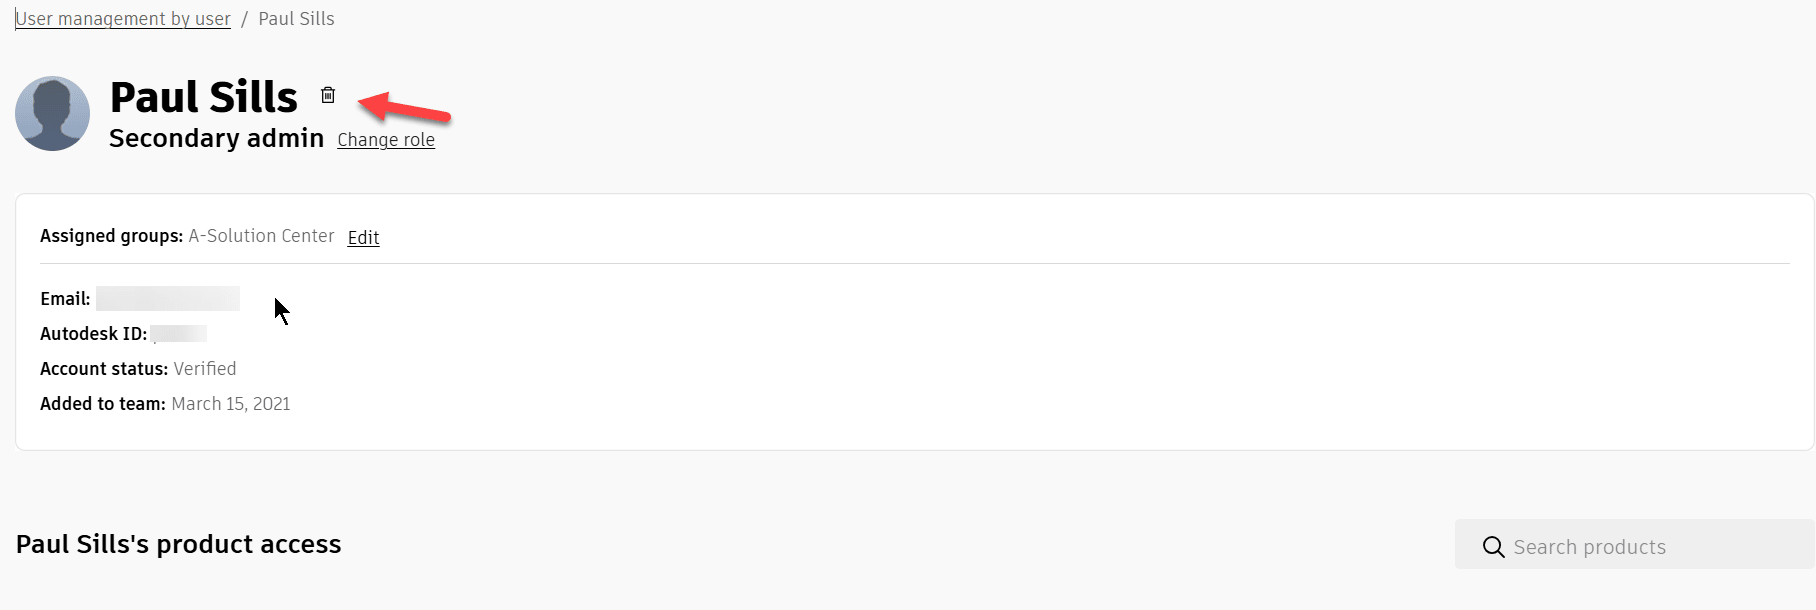
1. On the top of the page go to User Management > By User.
2. select the user and then select the trash icon next to the user’s contact information:
3. In the confirmation window click on Delete.
About the Author
Follow on Linkedin More Content by Paul Sills


