
Make mark up for adding 3D printer for Inventor
- First make sure that Inventor is closed down.
- Right click on 3DPrinterDescriptions.xml & edit with notepad
- Scroll to the bottom of the to the last entry above: </Printers3D>
- In that copied line there are some fields that need to be altered for your line:
- <Printer internalName="8D39294C-FA7A-40F4-AB79-19F506C64097": This is a GUID(Globally Unique Identifer). Each printer must have its own unique GUID. Go to google and search for a free GUID generator.
- modelName="Ultimaker 2": Type in model name or number
- technology="FFF": This can only be FFF or FDM. FFF is more commonly used because FDM is a trademarked term by Stratasky. FFF stands for Fused filament fabrication and FDM stands for Fused deposition modeling. They are both 3D printing technologies that involve melting a plastic filament and extruding it through a heated nozzle to build up a 3D object layer by layer. *
- origin="BottomCenter" This is where your 0,0,0 is located
- units="mm": most 3D printers are going to be mm
- depth="225" width="230" height="205": These are the print dimensions based on your printers dimensions printable area. Go to manufacture and get the correct dimensions.
- thicknessThreshold="1": Thickness of the build plate.
- defaultprinter="1": Keep this as 1
- favorite="0" />: Change this to 1
7. Once these fields are changed save the 3DPrinterDescriptions.xml and close
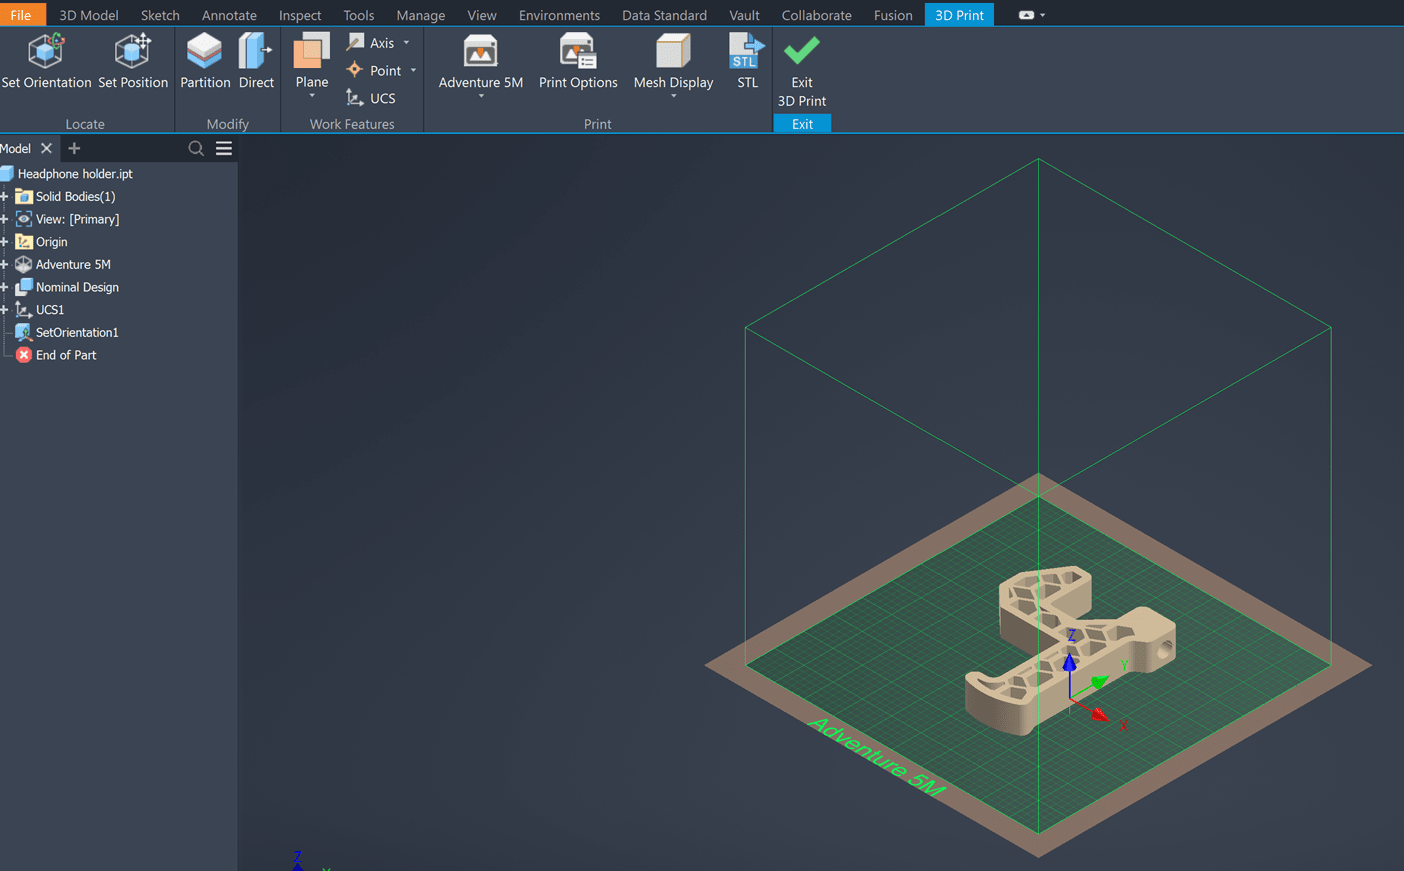
8. Open Inventor and open a drawing or start new drawing
9. Navigate to Environments Tab> 3D Print panel
10. On the print panel click the dropdown and select other printers
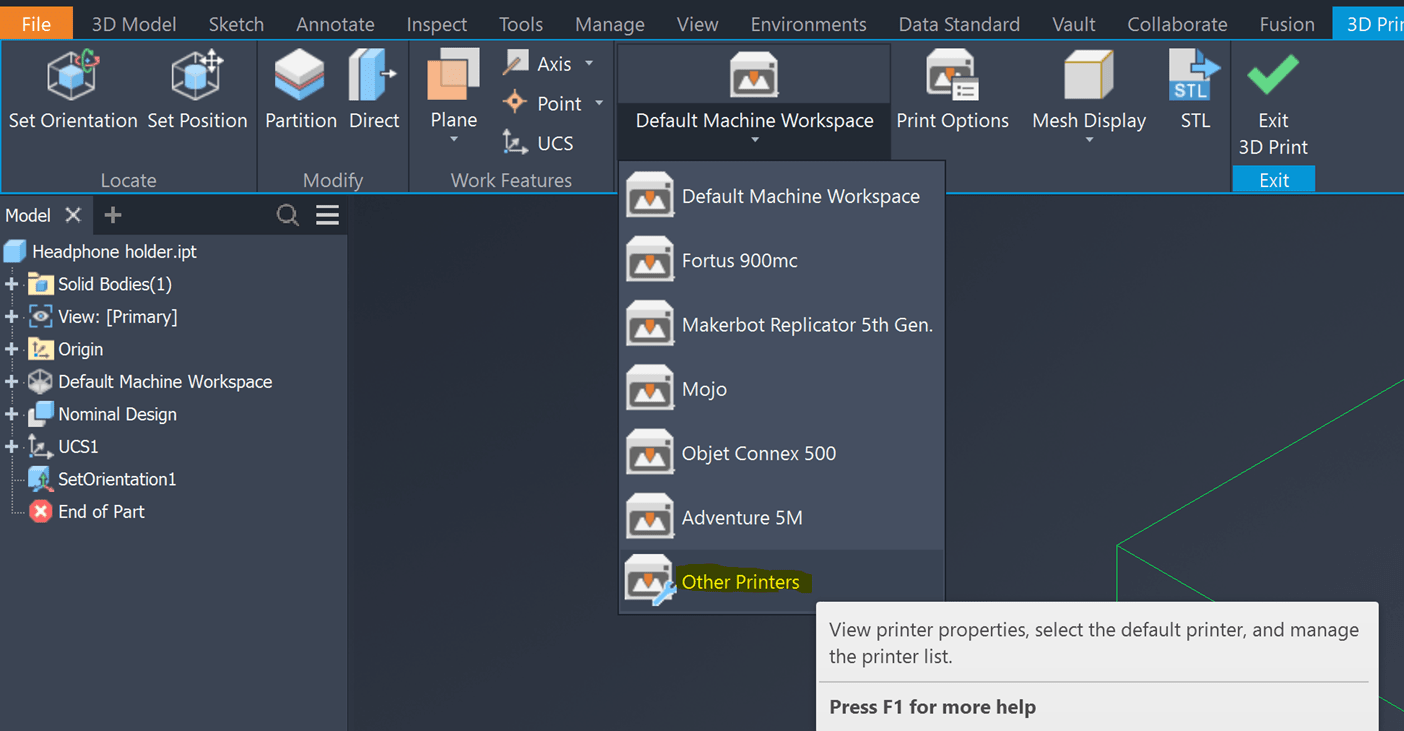
11. Find the printer that you just created and make sure that Use in current document is checked

Be sure to check back regularly for more insights and practical tips on how to get the most out of your software from the experts at IMAGINiT. Our team is committed to helping you stay ahead with the latest strategies, solutions, and support to drive real results. Whether you're implementing new software, streamlining processes or exploring new technologies, we've got the guidance you need to succeed.
About the Author
More Content by Drew Niemeyer


