
Issue:
When working with 3D objects in AutoCAD, the object snap (Osnap) function sometimes snaps to an unintended location in 3D space rather than the point selected by the cursor. This inaccuracy is significantly amplified when using orthographic view orientations (e.g., Front, Top, or Right), as the 2D projection conflicts with the 3D depth of the object geometry. Or you want to stretch a column in Advance Steel to bottom of a beam that is slightly offset from the center of the column and none of the object snaps give the solution you are looking for.
Causes:
When multiple 3D points (different -values) project to the same 2D screen coordinate. AutoCAD guesses the wrong -depth point because it can't distinguish them in a flat view.
Solution:
By using .X, .Y, .Z, filters you can use the coordinates from the object snap pick based on one of these selections. For example, you can select. zx and select on one object to fix these directions based on this selection and the move or stretch along the y direction. The .X, .Y, .Z filters options have been around since the early 1990’s. To use the .x, .y, .z filters using the stretch command in Advance Steel.
In Advance Steel you want to stretch the base plate and column to the bottom of the beam.
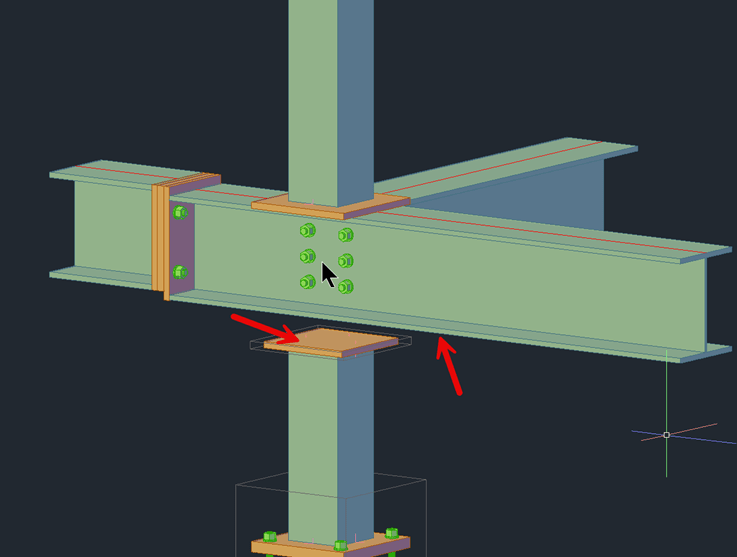
1. Start the stretch command and place a crossing around the top plate and the column.
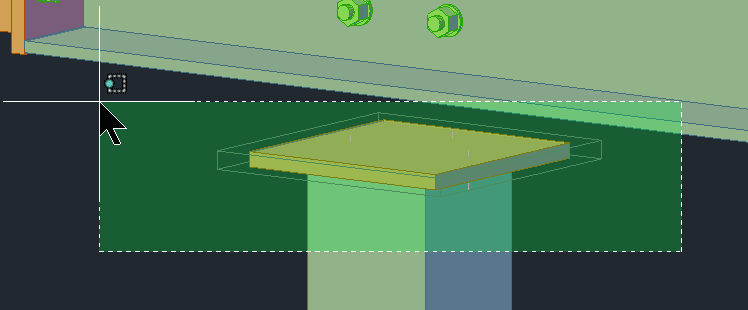
2. When prompt, select a point on one of the corners of the plate.
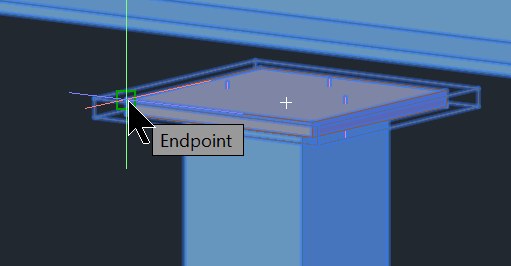
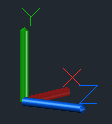
3. Check the orientation of your UCS icon to determine which axis is pointing up. Based on my current UCS I want to stretch in the Y axis but hold the current Z, X axis. Type .zx and hit enter and then select the same point as selected for the base point.
4. Next, we will use nearest and select the bottom edge of the beam.

5. The top of the plate should now be flushed with the bottom of the beam.
In Plant 3D
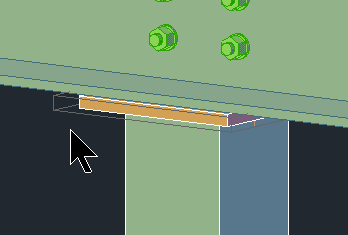
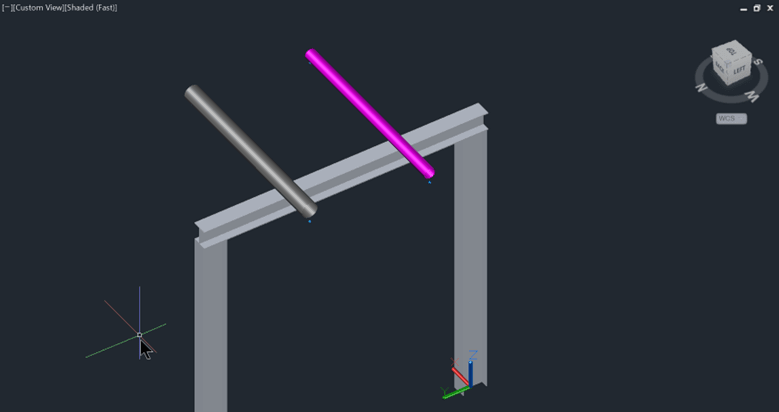
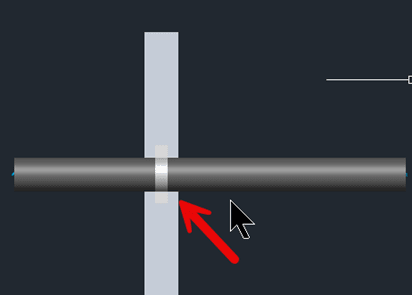
In Plant 3D, you may want to align a pipe support so that it is centered on the steel support structure.
The .X, .Y, and .Z filters can be used in all AutoCAD base products; however, not all commands will support them.
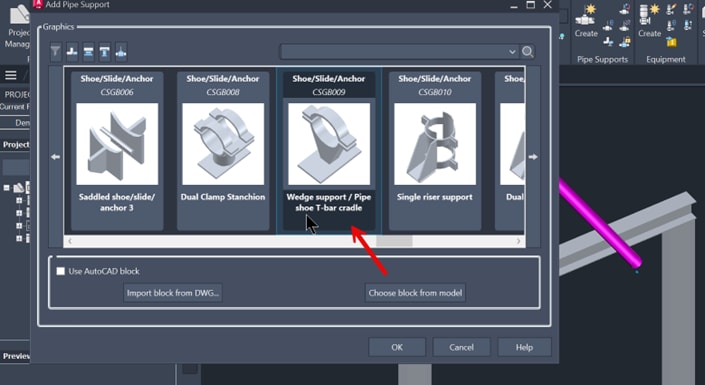
1. Select the pipe support to placed on the center of the support to the center of the steel support. We will use Wedge support/pipe shoe T-bar cradle.
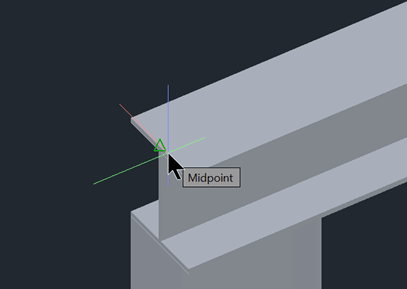
2. Move the support over the pipe and while hovering over the pipe type (in this case) .yz and select anywhere on the pipe. You will see in the command line (need X). This will lock the movement only in the X axis. Select the mid-point on top of the steel.
3. The pipe support will be centered on the steel.
About the Author
Follow on Linkedin More Content by Paul Sills


